General Information
Documentation updates
Please, note that the documentation related to Braincube IoT Server may be updated at any time to reflect new needs and/or changes to the application.
What is IoT Server?
Braincube IoT Server is a dataflow model app delivered as an ISO. You can download it here.
It gathers data from multiple sources, pre-process it and give you the possibility to use it in real-time.
- Connect as many machines as you would like
- Scale by instance multiplication if needed
- DIY drag and drop data flow configuration
- Large protocols selection : S7, OPC, Modbus, MQTT, Ethernet IP, TCP, Websocket braincube, ...
Requirements
| RAM | CPU | Disk space |
|---|---|---|
| 8 GiB | 2 cores | 32 GiB free space |
Firewall rules :
- *.mybraincube.com : port 443 (or 188.214.102.29 for Braincube services and 188.214.102.30 to send files to the Braincube Cloud)
- At least one DNS should be available, public ones such as Google (8.8.8.8) or Cloudfare (1.1.1.1) or your own DNS.
- NTP protocol must be allowed (at least *.debian.pool.ntp.org )
IoT Server Install Overview
The complete IoT server onboarding includes the following steps:
- Confirm system requirements - make sure that your VM meets the requirements including allowing the appropriate firewall rules.
- Install the IoT server on the VM using the ISO hosted here: You can download it here.
- Verify install - you should see your IoT server on IoT Server Supervision
- Grant team members access - the user who does the licensing will be the first and only admin. We strongly recommend that this user grant additional users admin permissions right away from IoT Server Supervision
- If the Braincube team will be supporting usage of the IoT server, share the serial number and IP address/url as found on the IoT Server Supervision details with your Braincube representative. You do not need to grant access to any Braincube users.
-
Use/Access - a link to the the IoT server should be available under the platform name for future access

Troubleshooting
You can also check details associated with IoT server install at these urls:
- {IP address/url}/edge/home - should show you access to available apps
- {IP address/url}/edge/onboard - checks the status of onboarding
- {IP address/url}/edge/ready - checks for an internet connection to Braincube services to make sure licensing is possible
Installation process
IoT server being a Debian based operating system the installation is quite similar. The first steps are the same, and you will have additional settings at first boot.
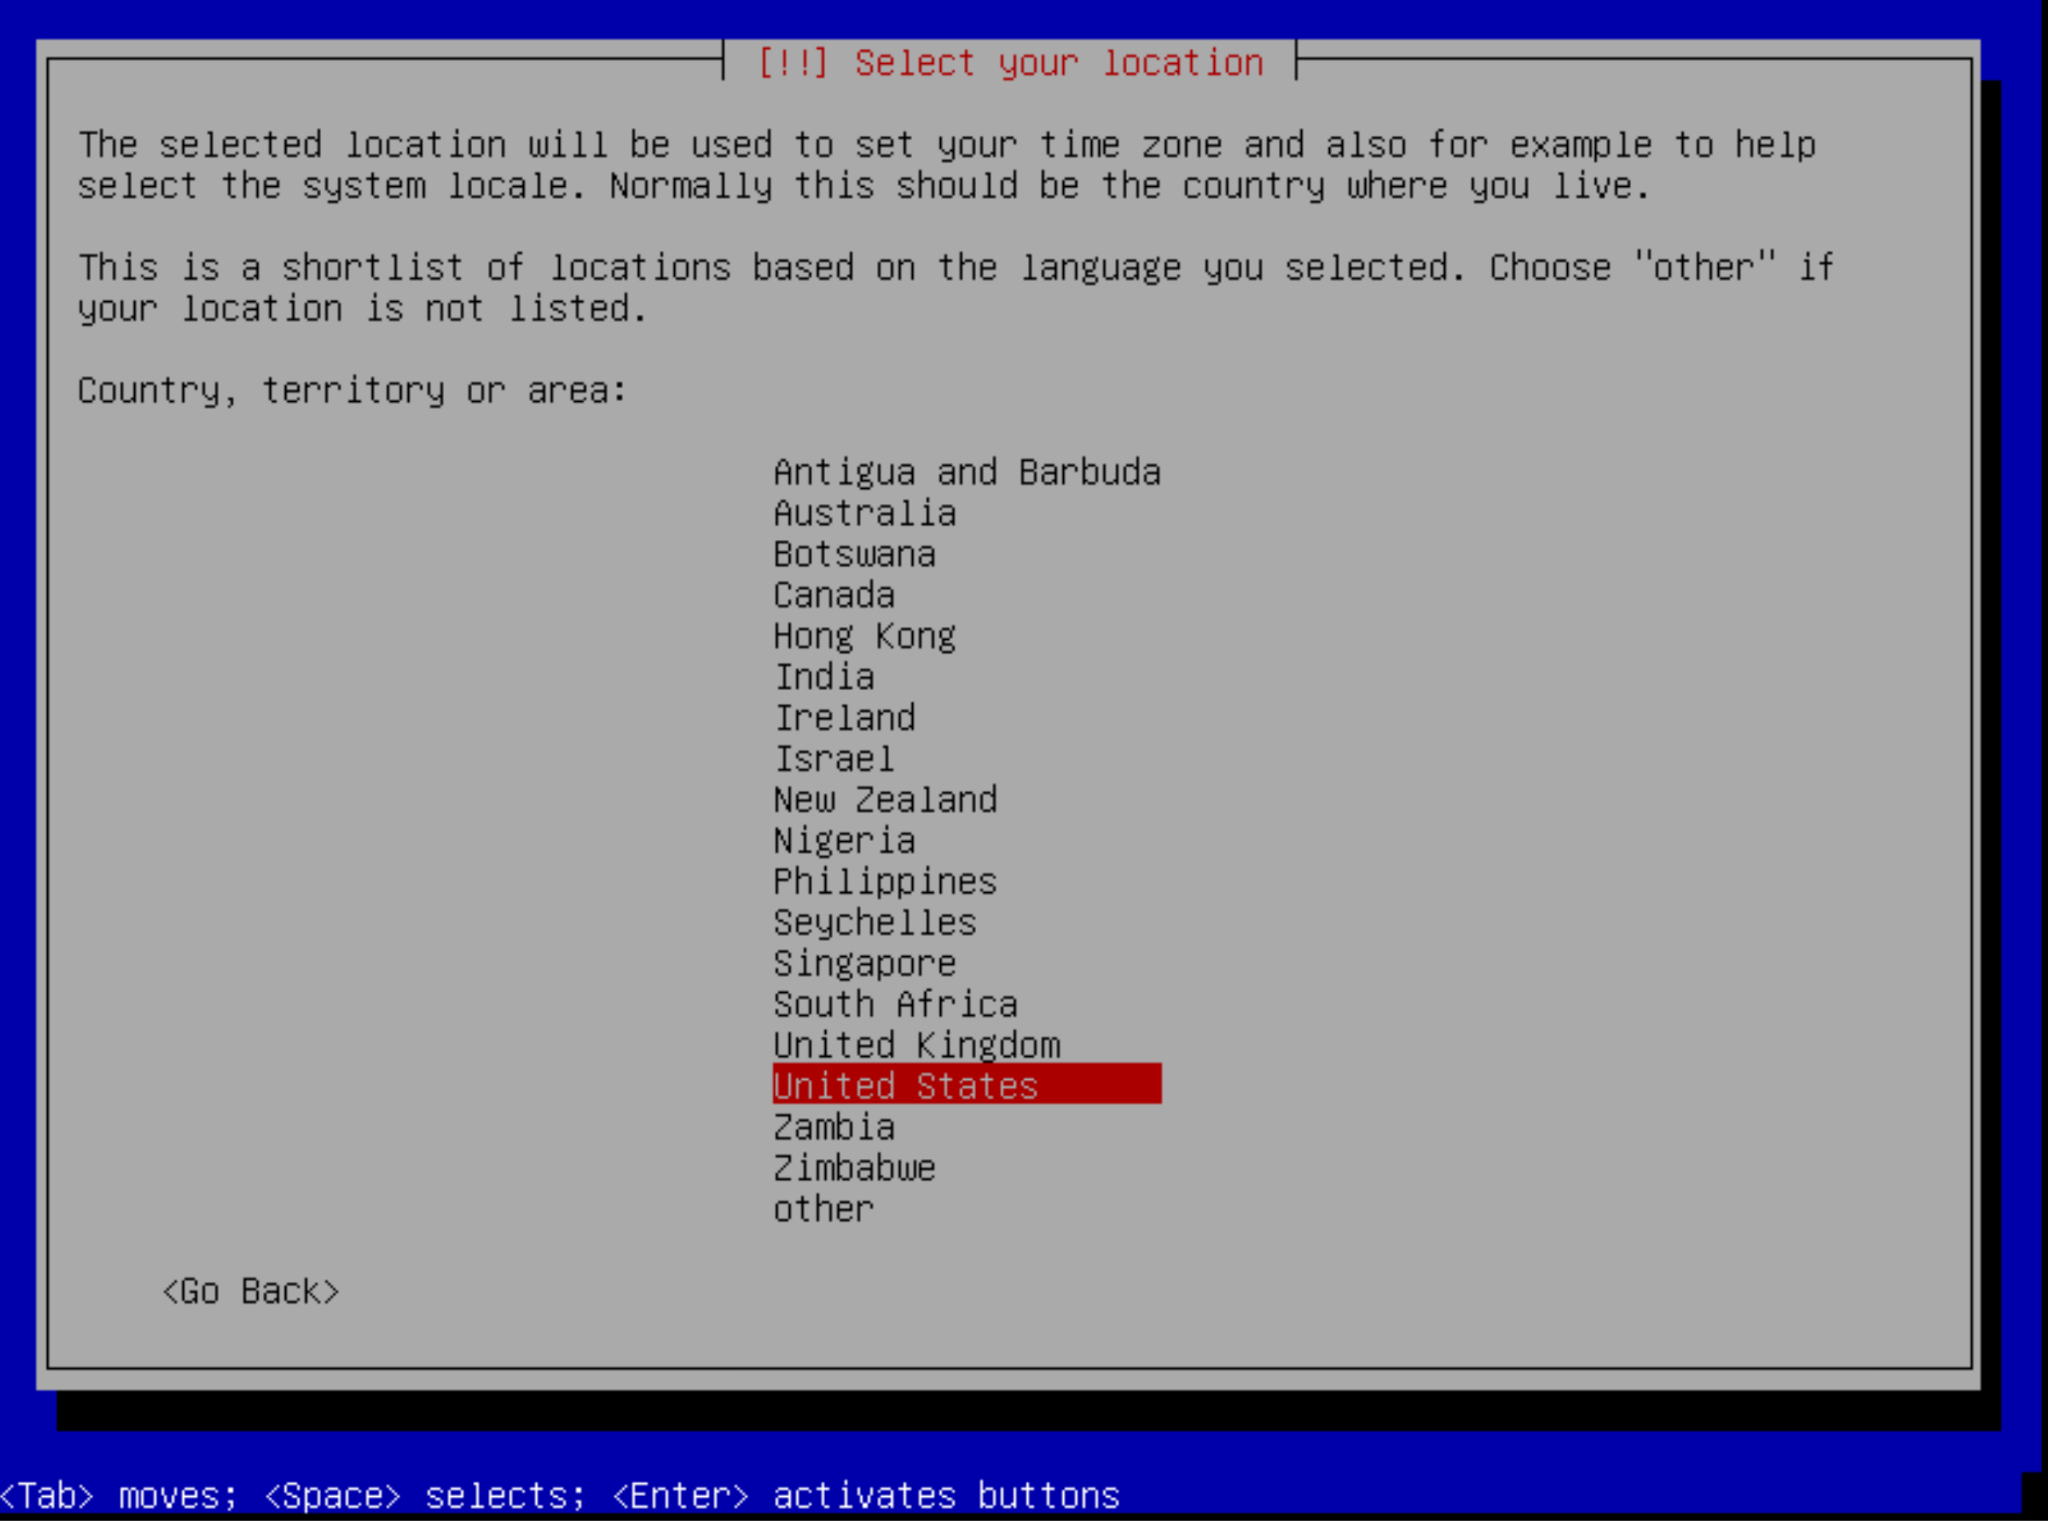
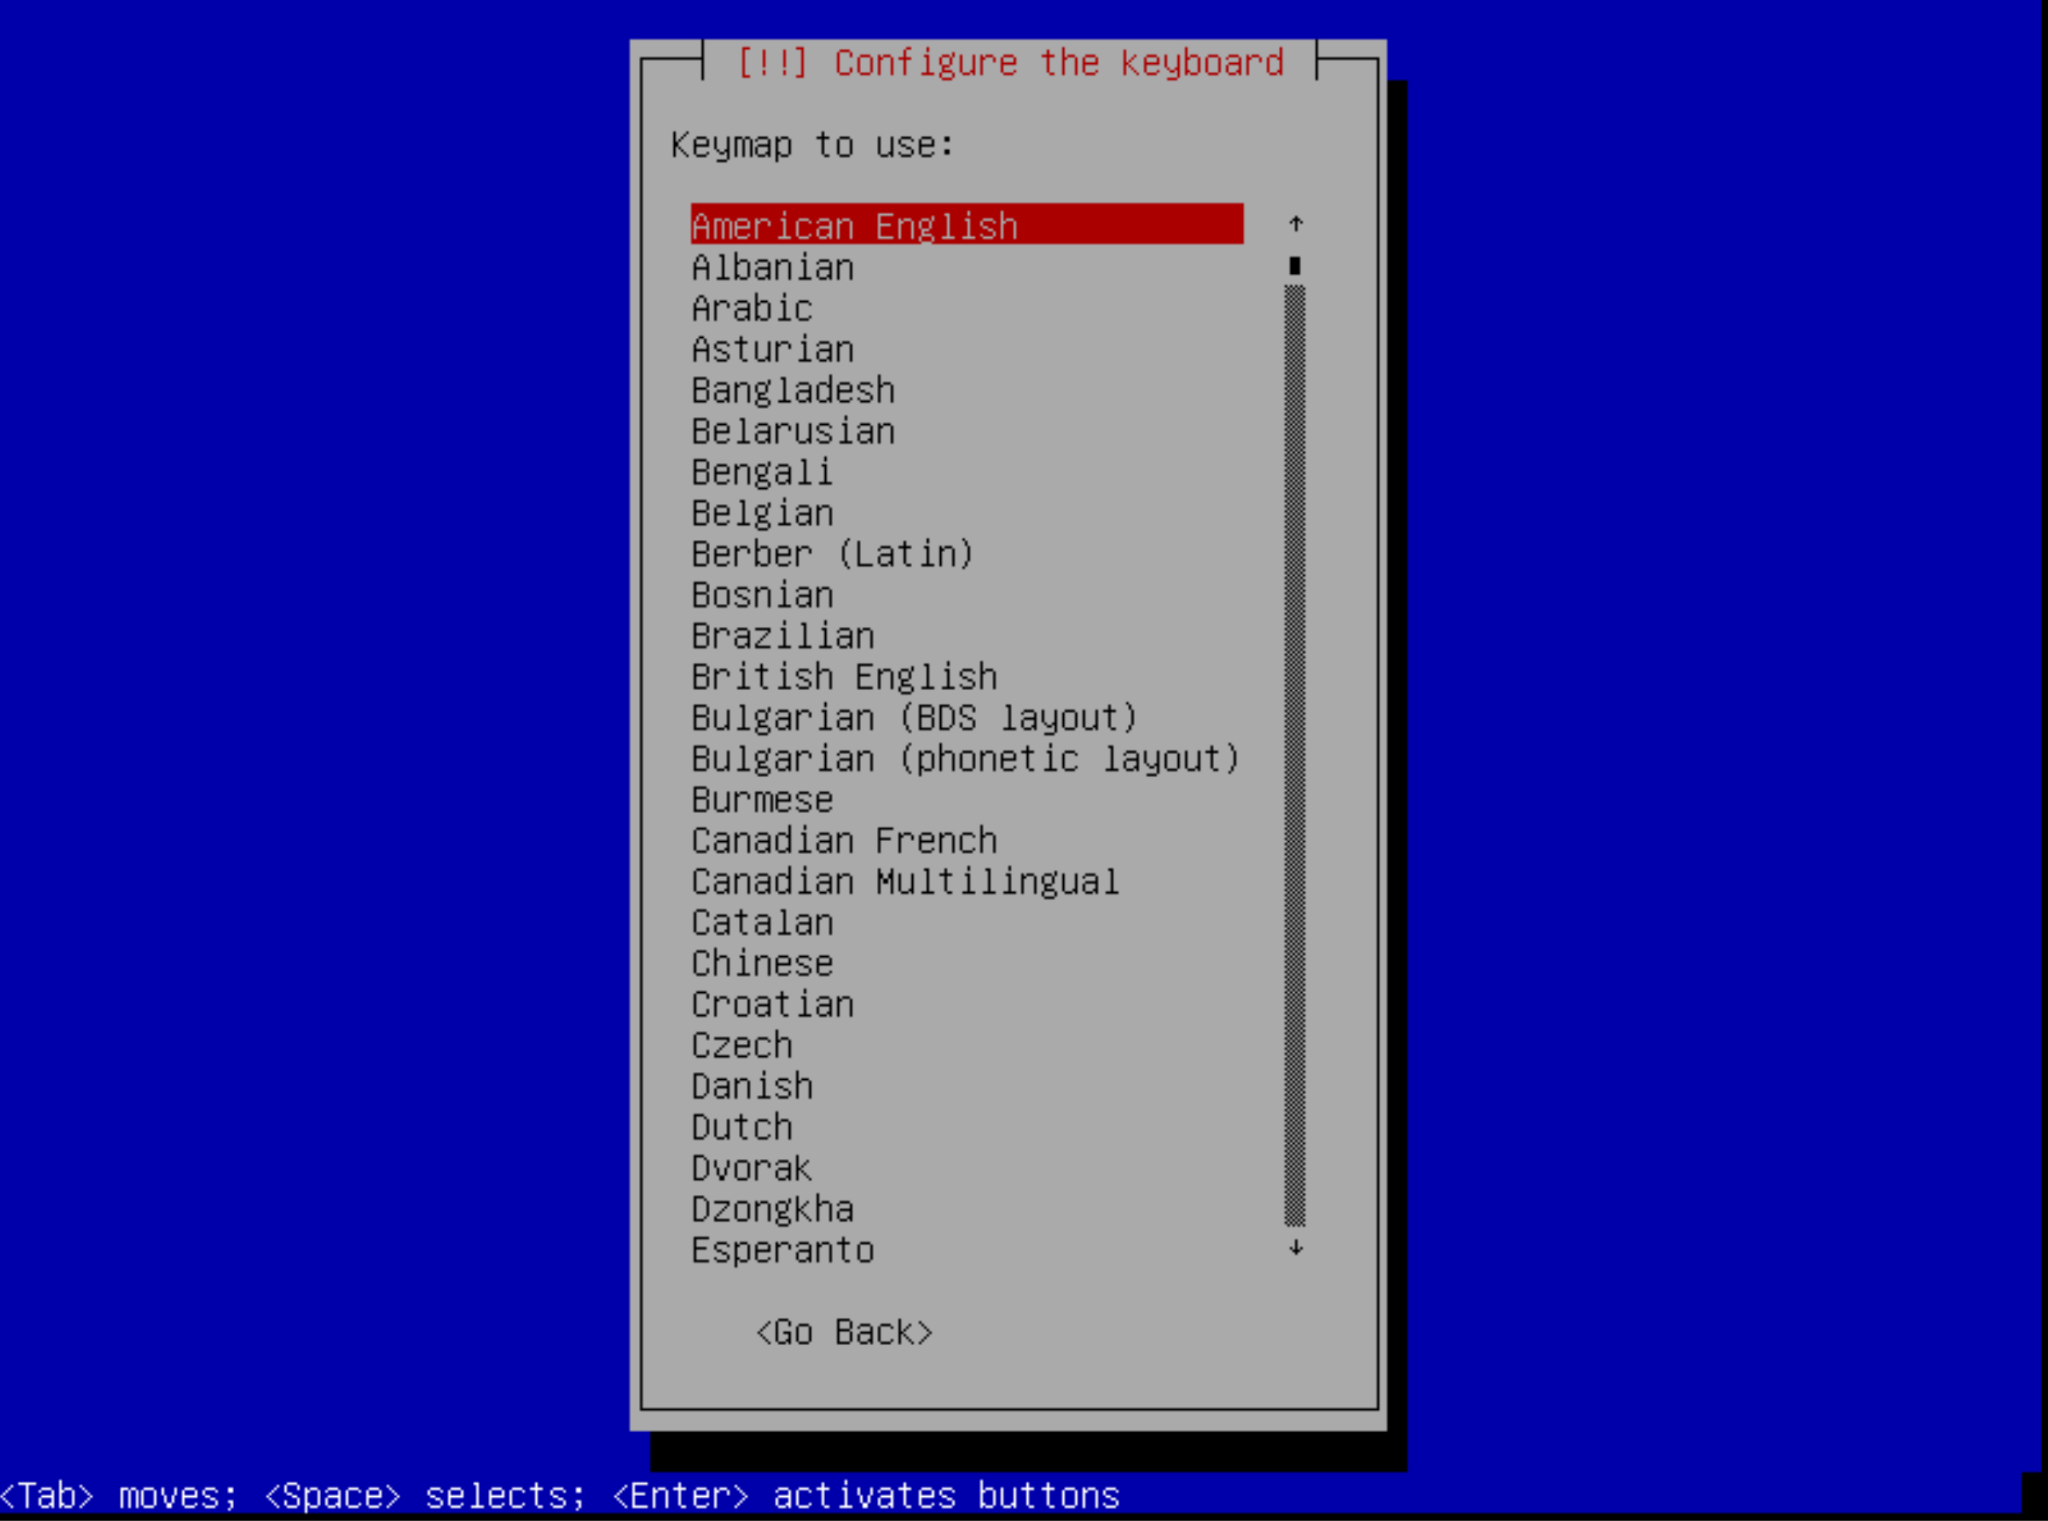
Step 1: Install the Operating System
Follow the steps of the Operating System Installation :
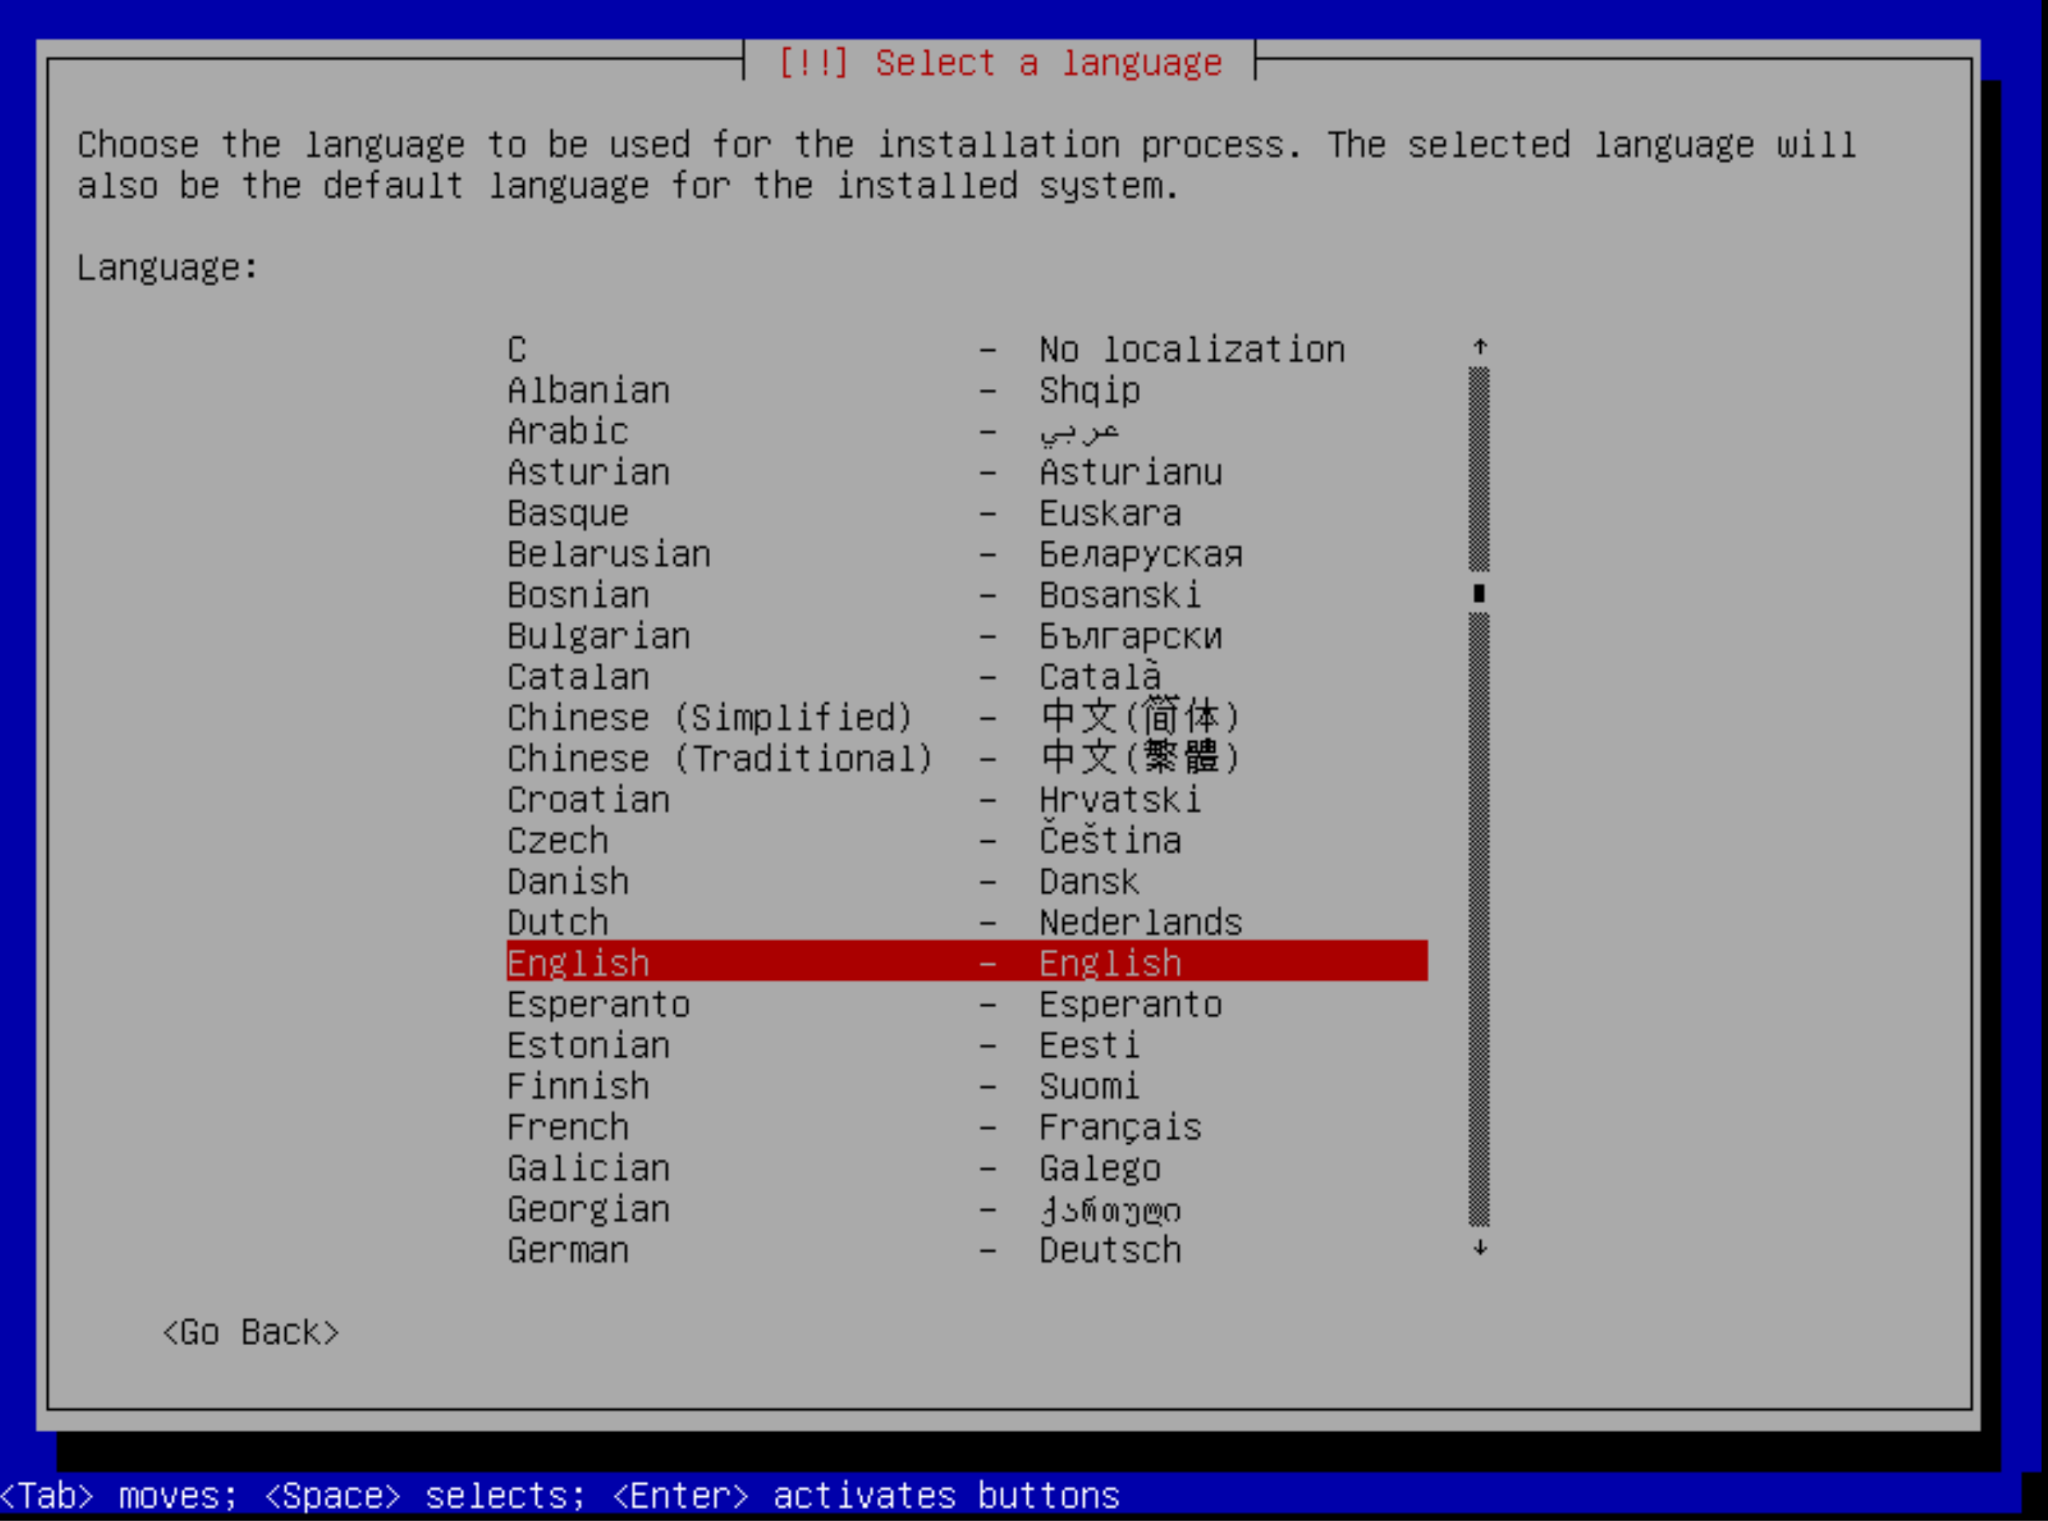
You can choose English, United States and American English. Those steps don't matter.
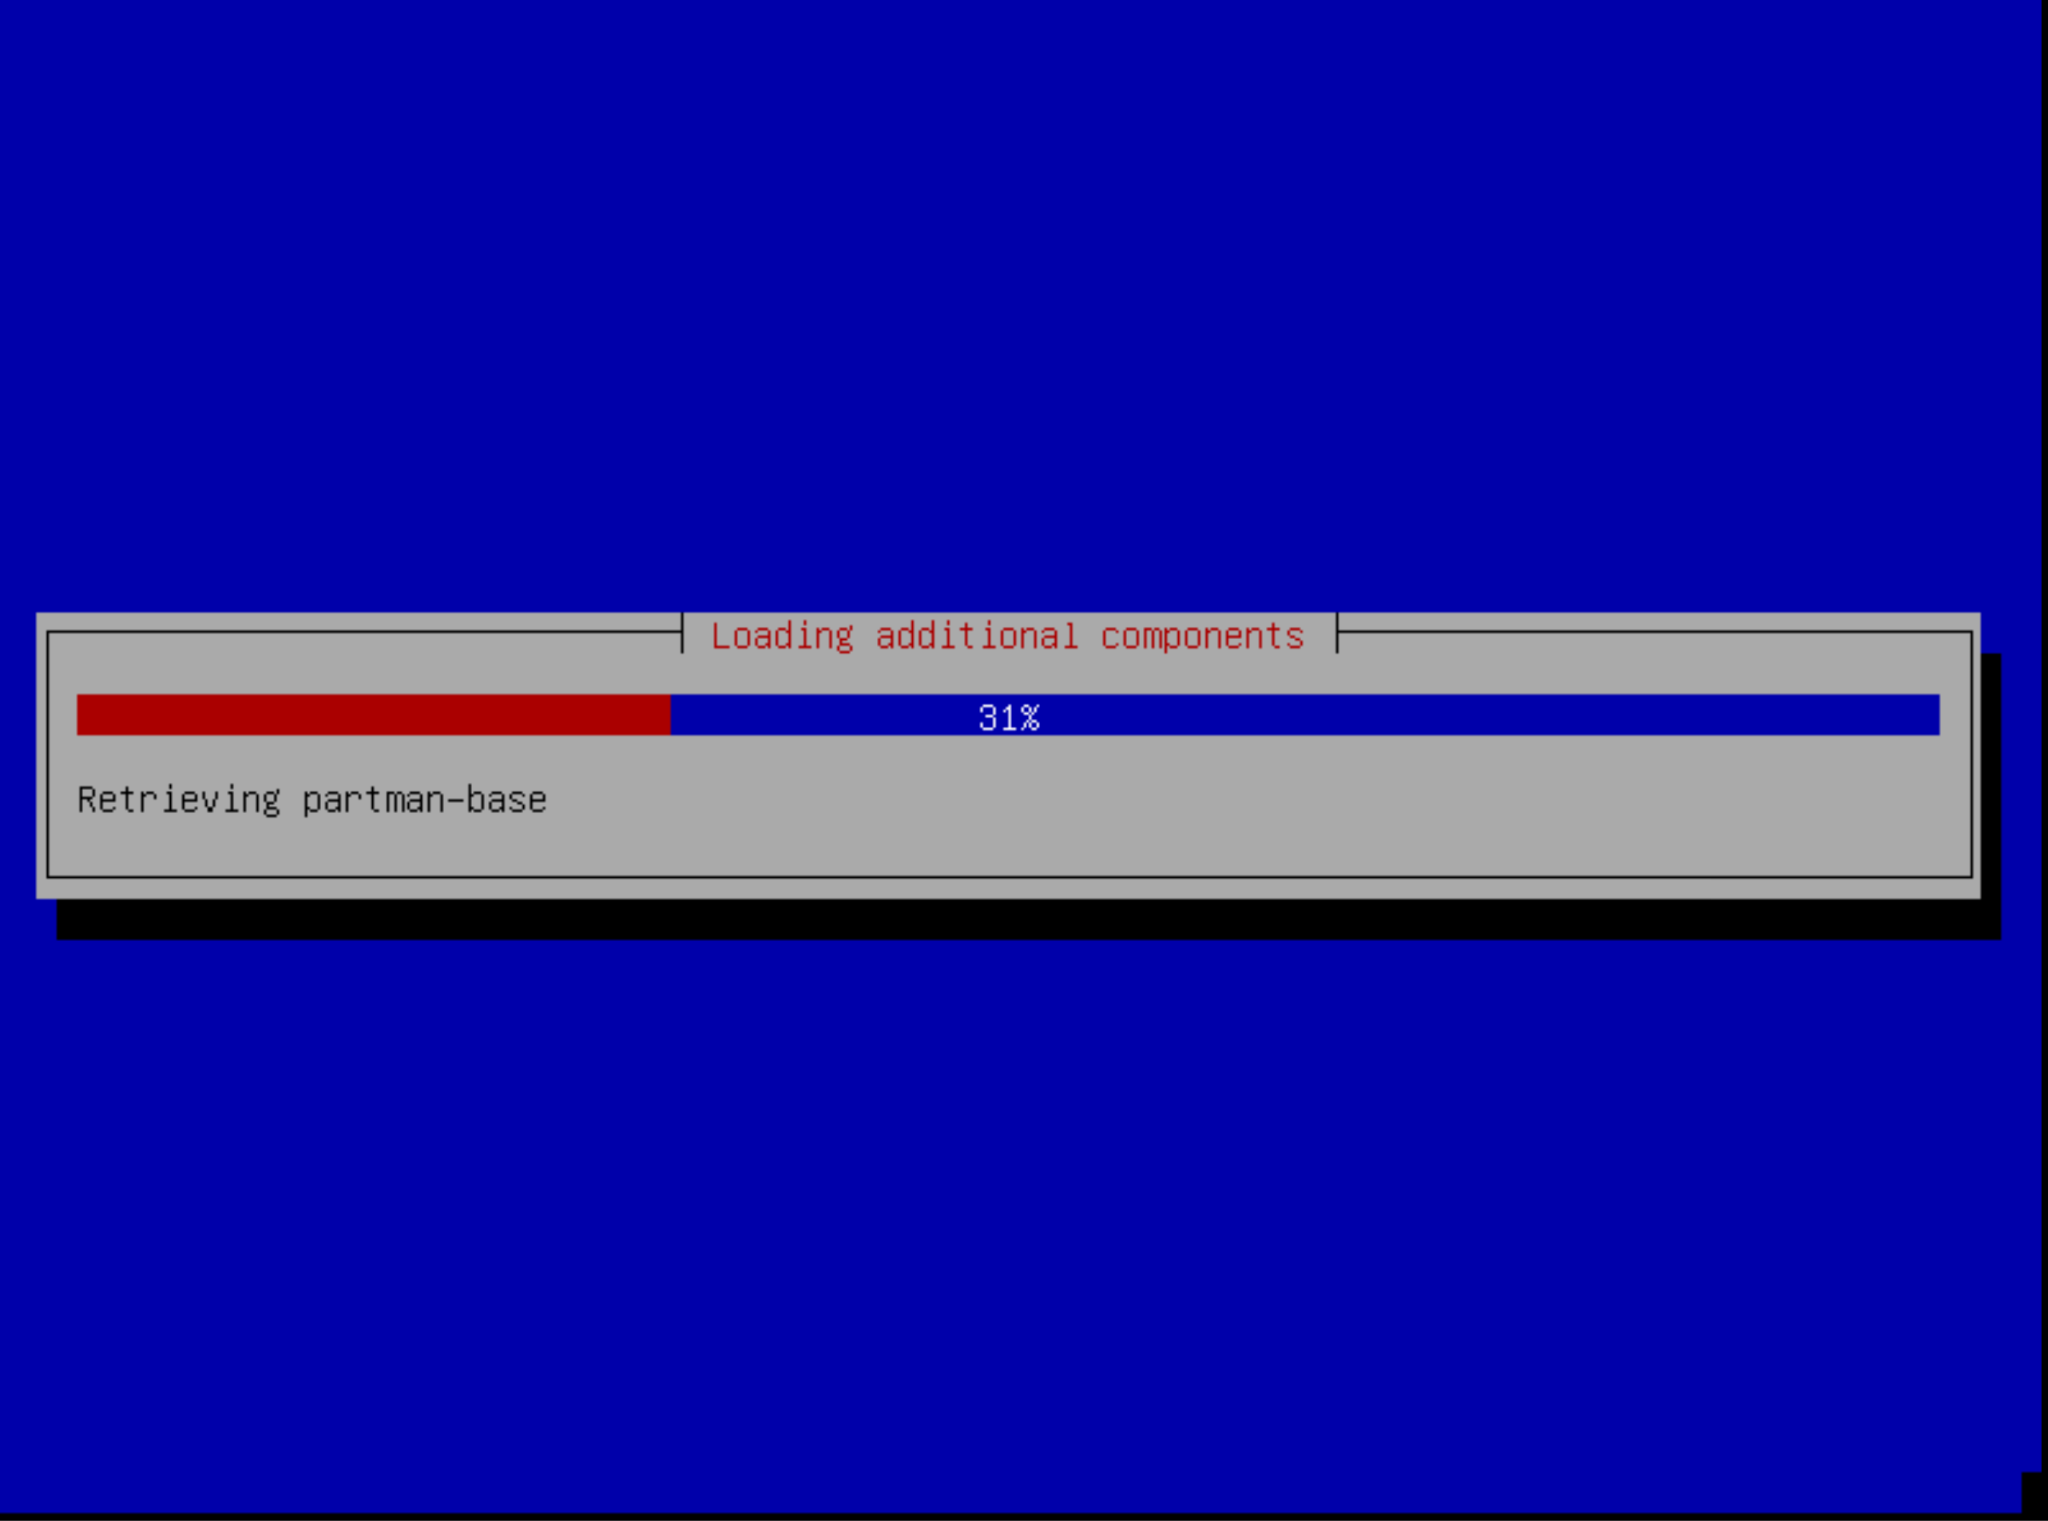
Then wait for the end of the installation :
Step 2: First network setup
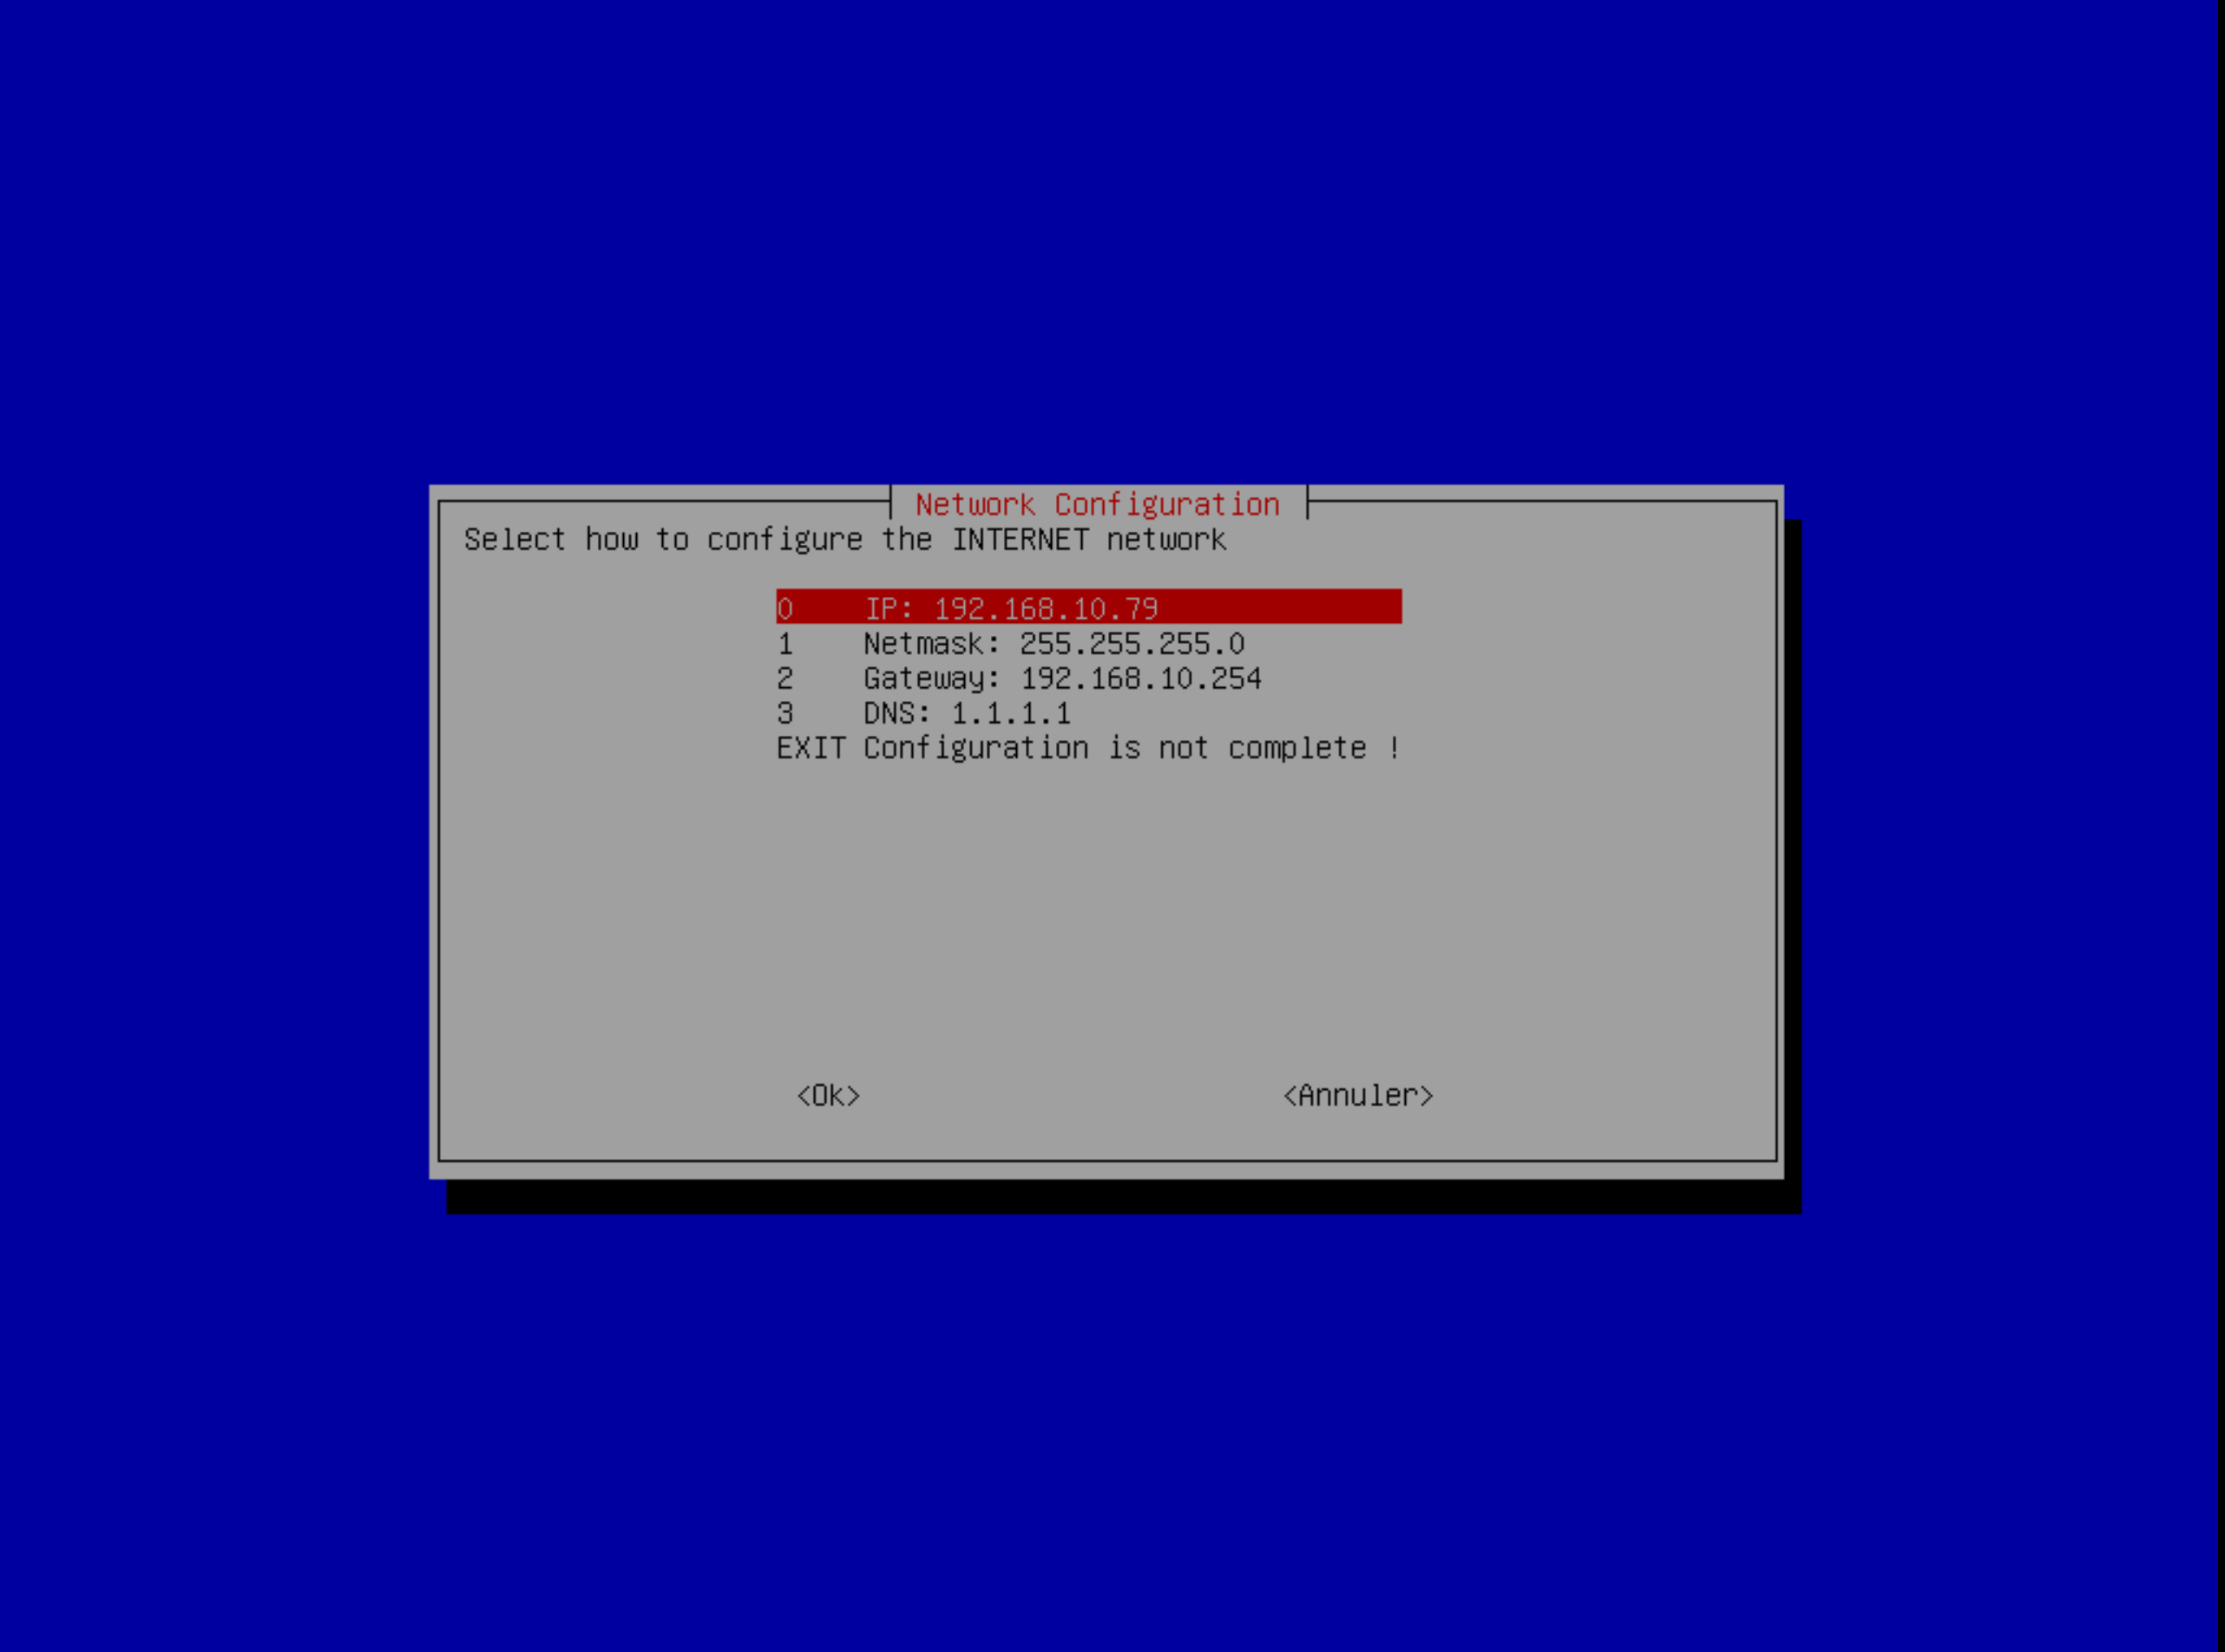
At the end of the installation your machine (virtual or physical) will reboot and at the first boot allow you to chose an IP Address between DHCP and static:

In case you want to configure a static IP address, you will have to complete the following :
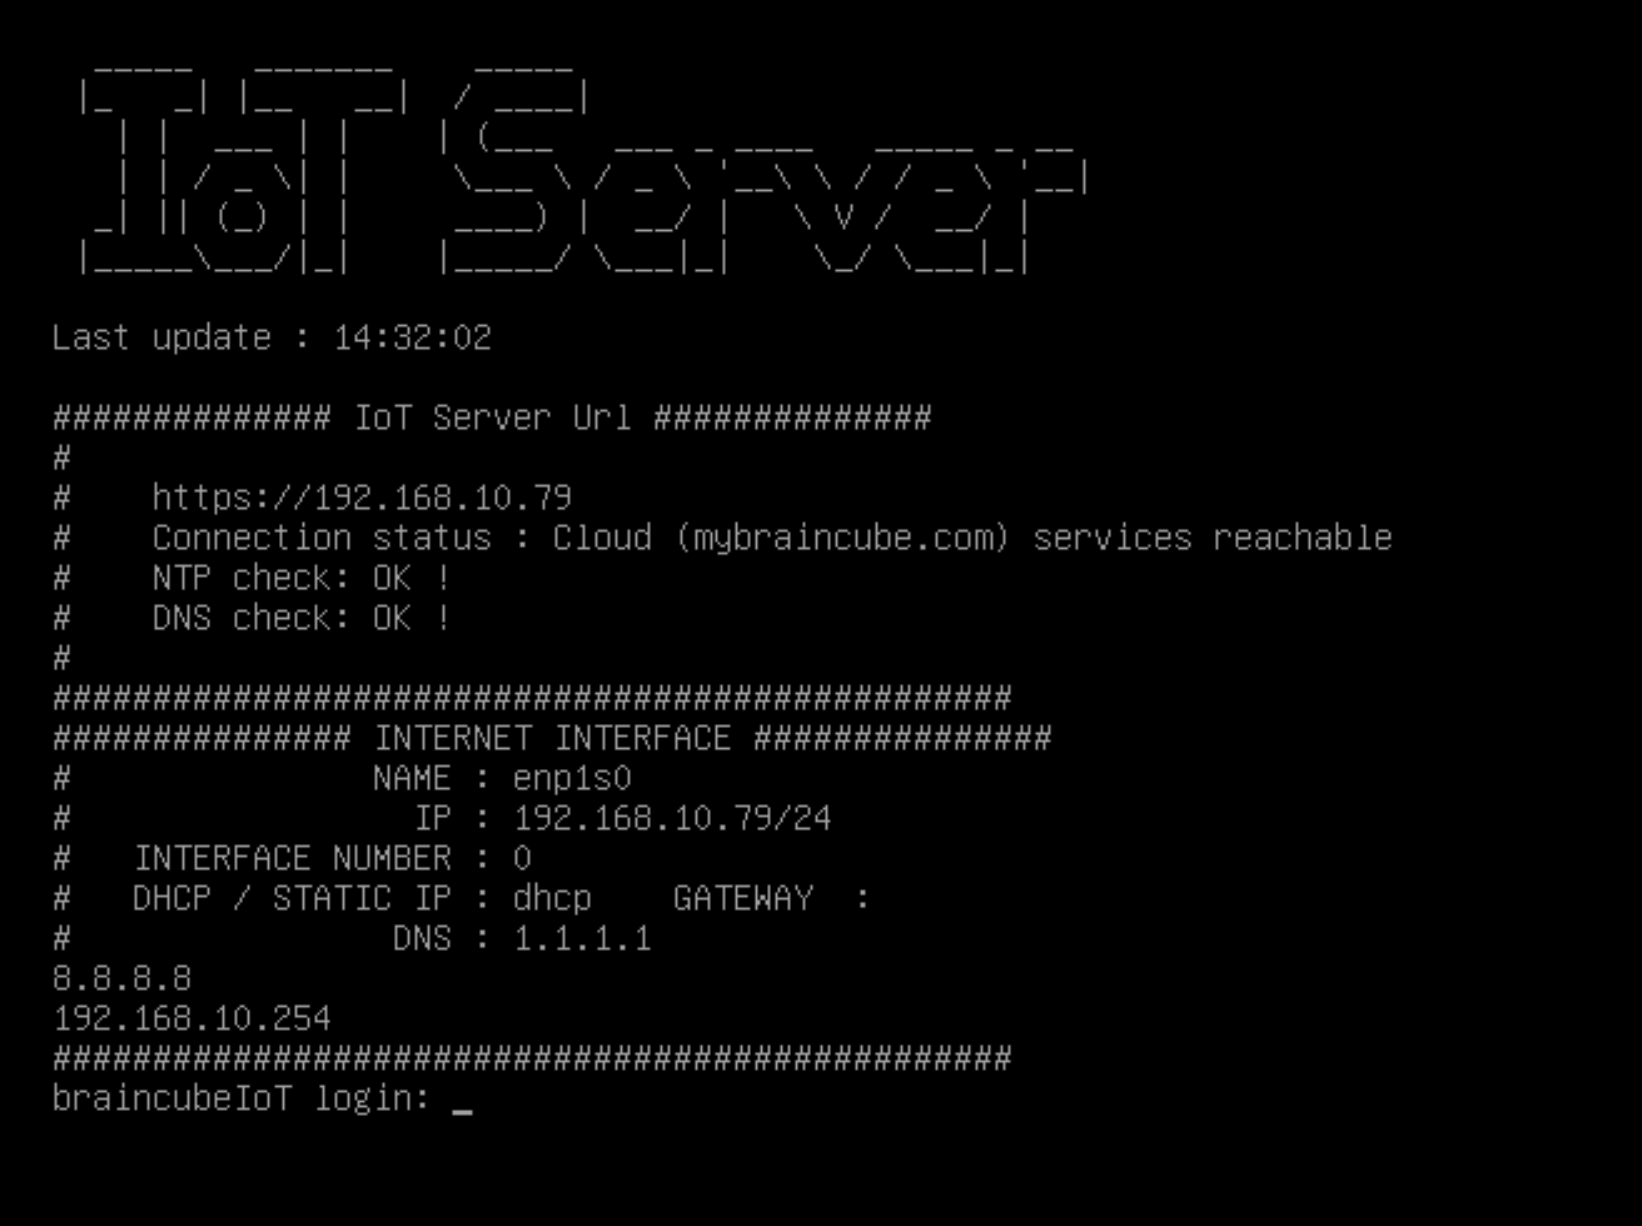
Once done you will see a banner displaying the address of your IoT Server and if the Braincube Cloud Services are reachable
Step3: Advanced network setup
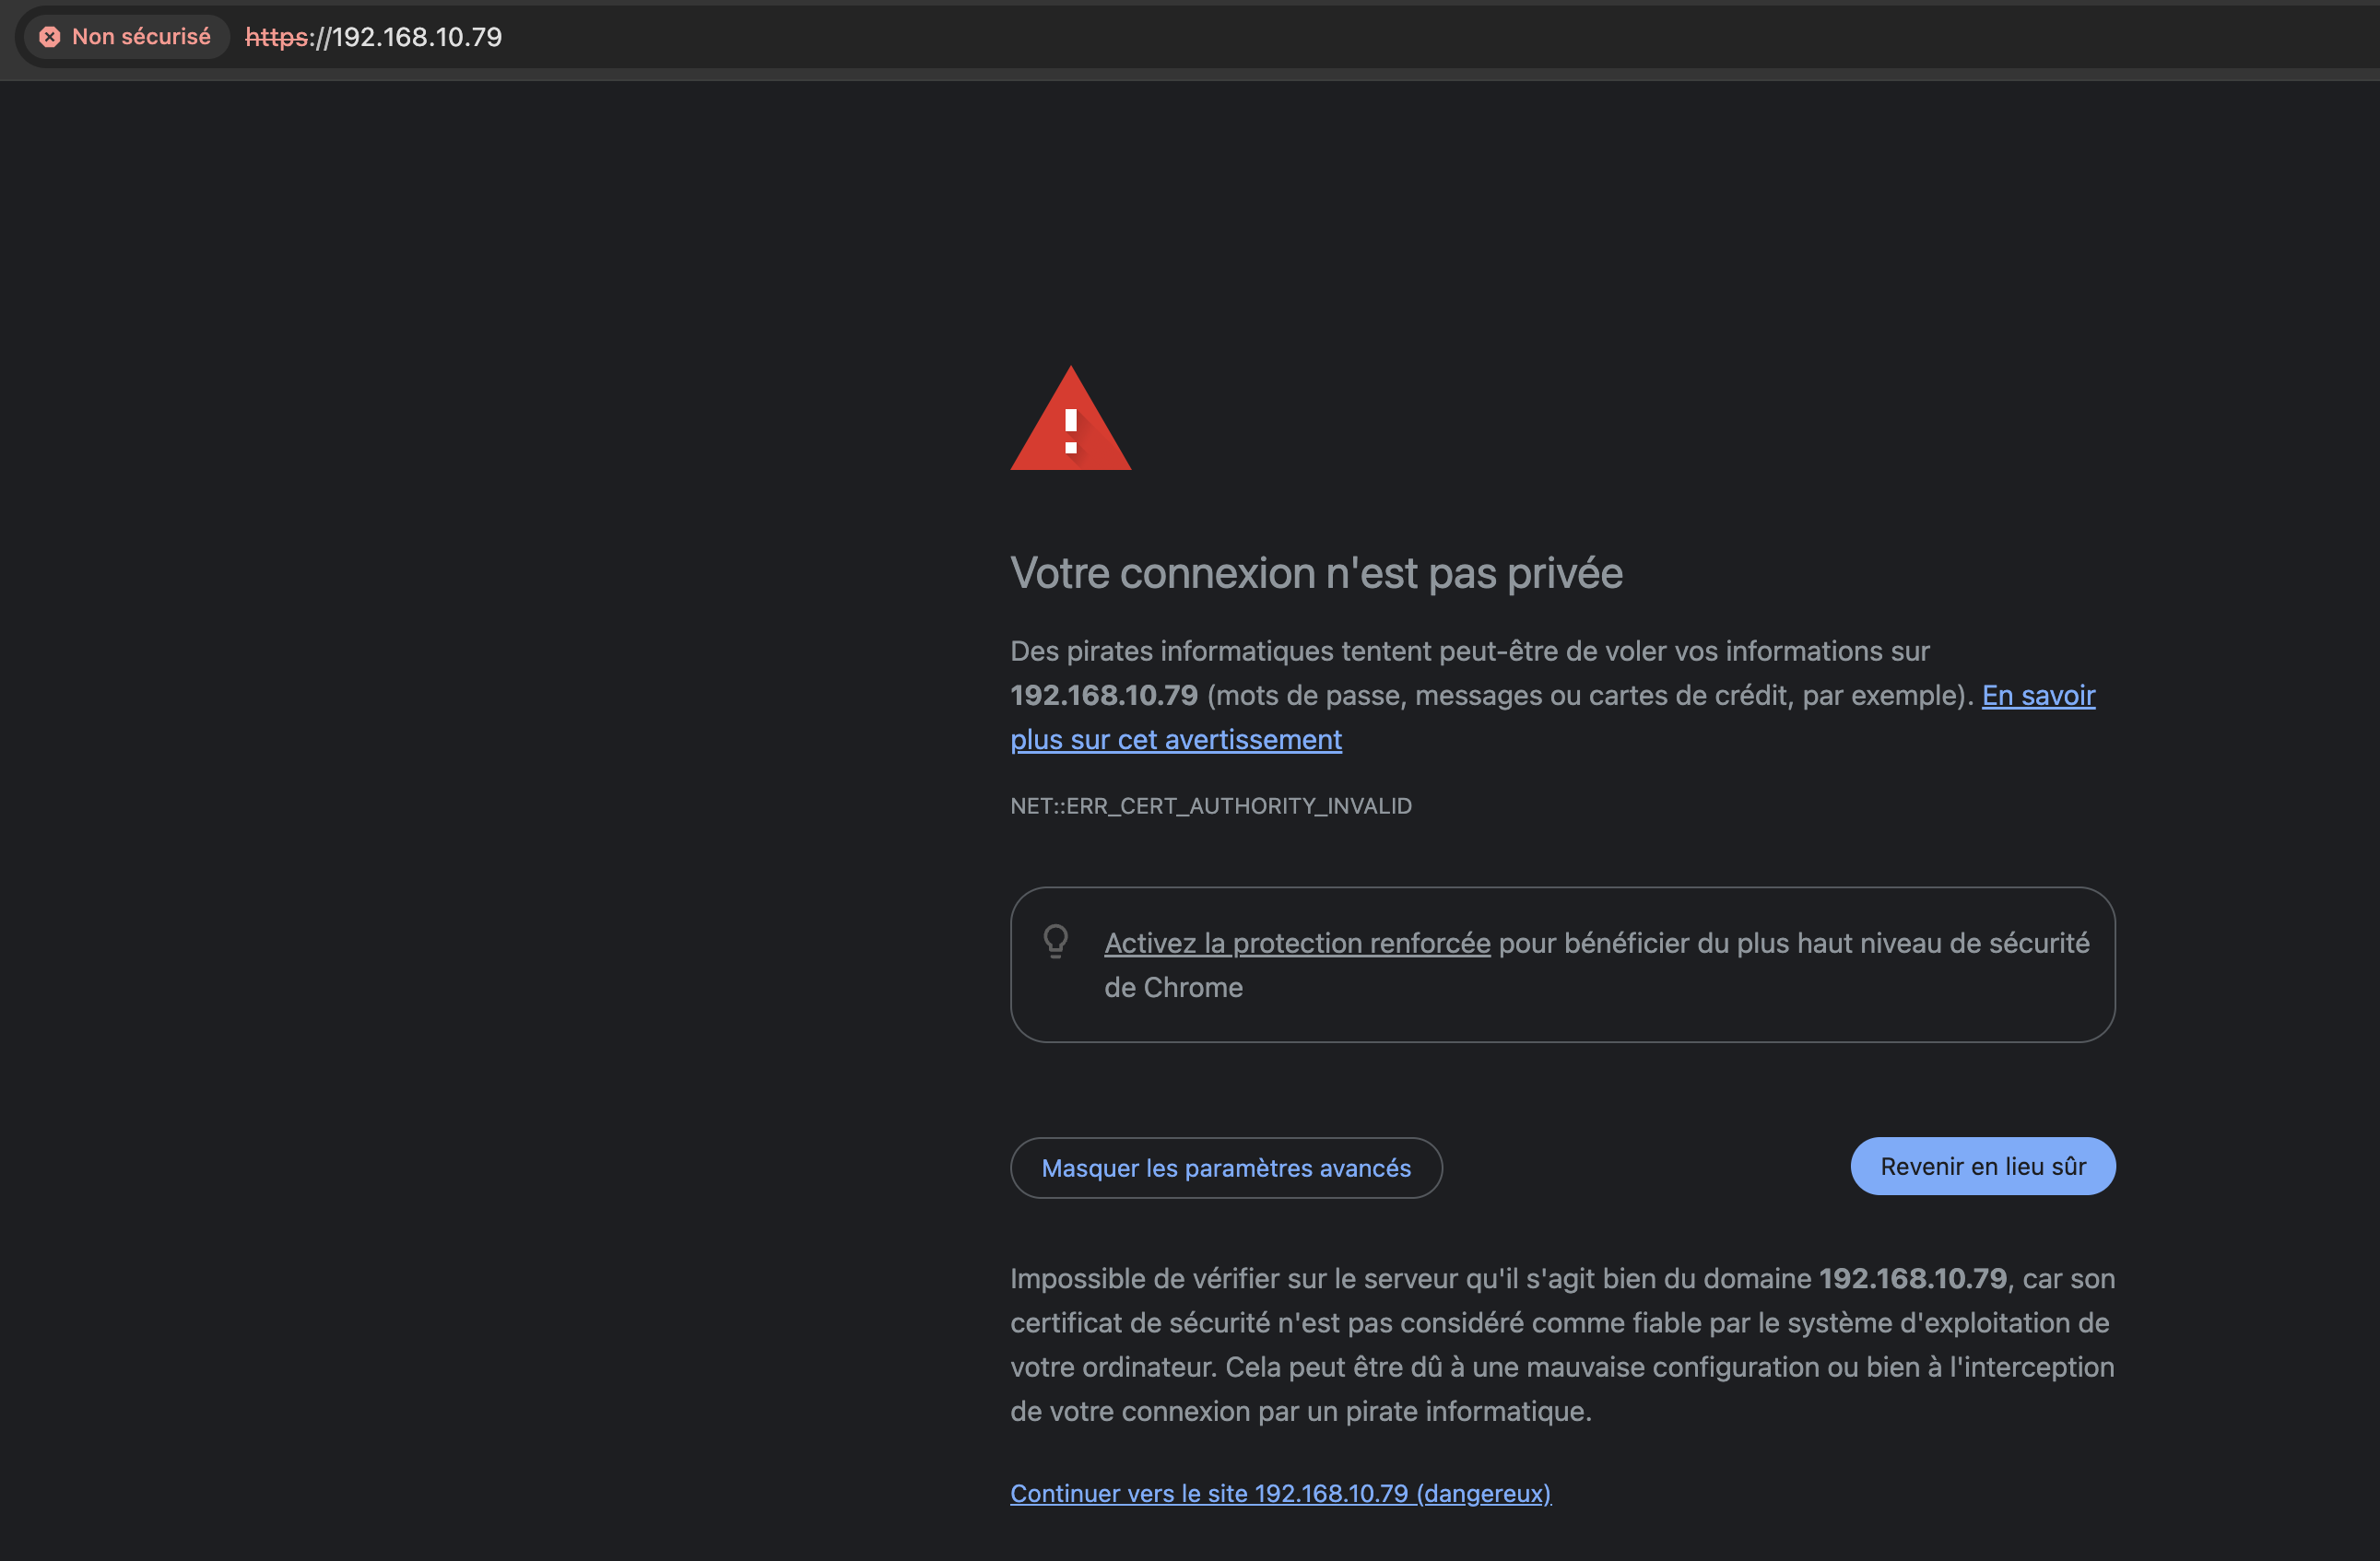
You can now open your IoT Server interface using a web browser and reaching the IP Address displayed in your machine console (https://192.168.10.79 in our case). At first, as you are using an HTTPS link and an IP address, your navigator will throw a warning. You can go through it and will be able to solve this later by giving a domain name for your machine (in your DNS):
At this step the landing page of your IoT Server will ask you to enter a domain to target (by default "mybraincube.com"). You can also open a page for avanced network settings by clicking on the button "Network Settings". Find explanation about this Network Settings application in this article
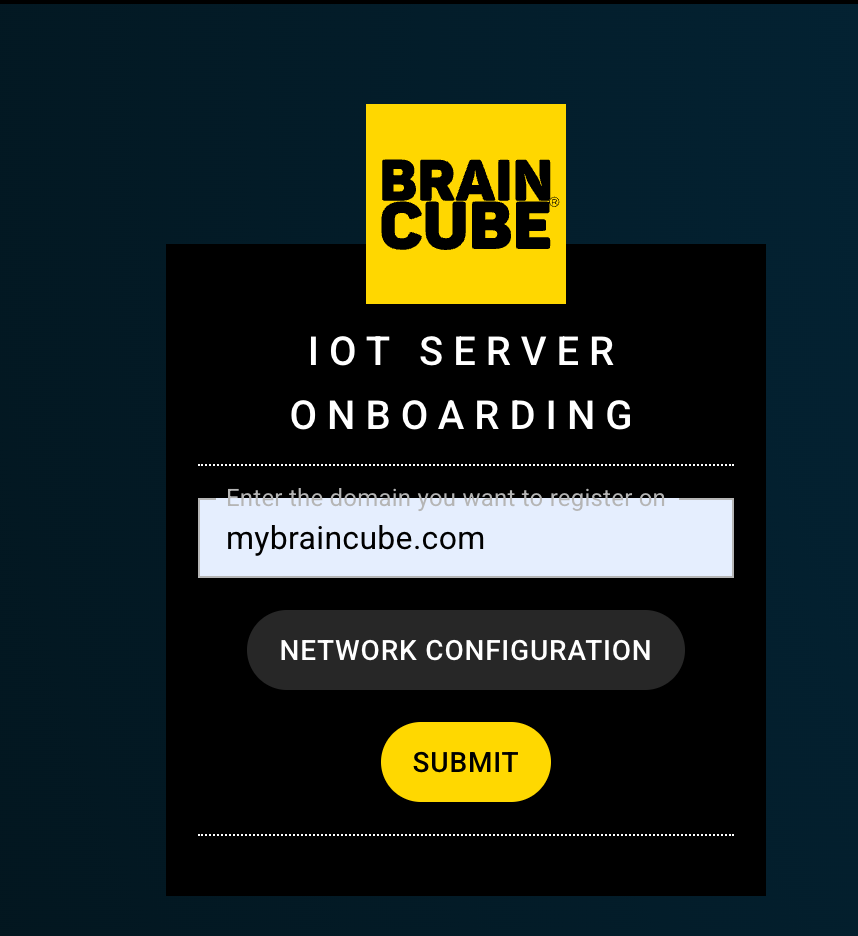
You can then click on "Finalize onboarding" to onboard the iot server on your braincube.
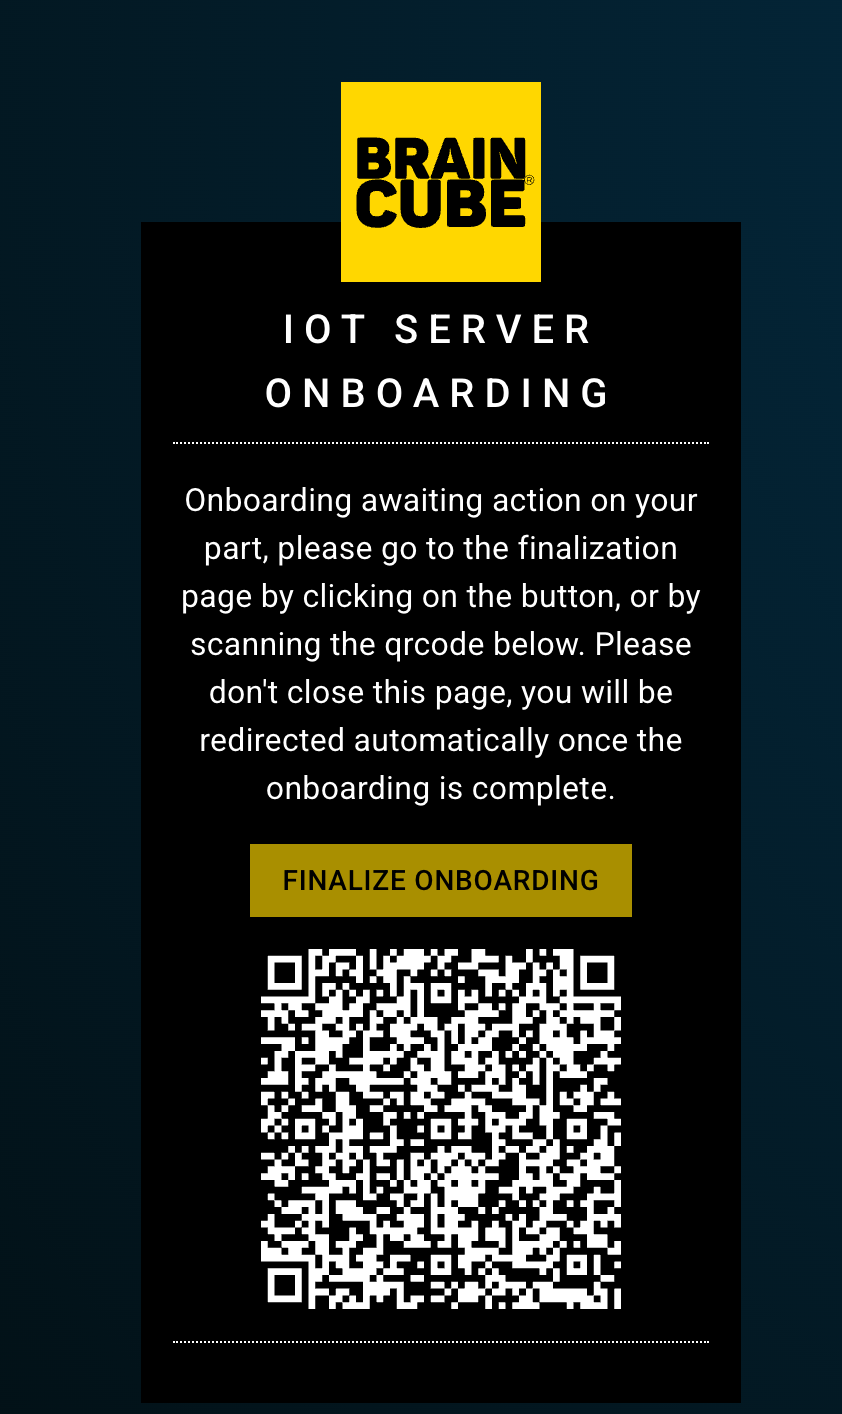
Step4: Onboard your IoT Server
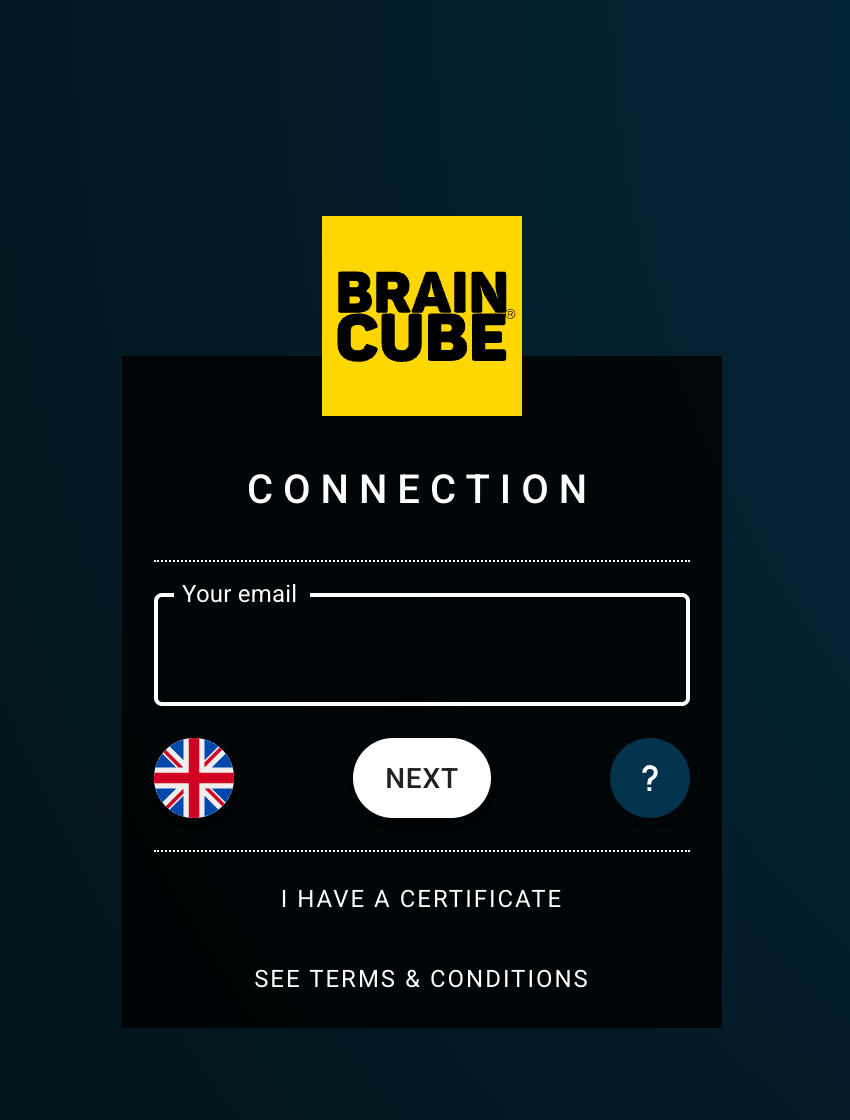
By clicking on "Finalize onboarding" a new tab will be opened in your web browser asking you to connect to your Braincube account.
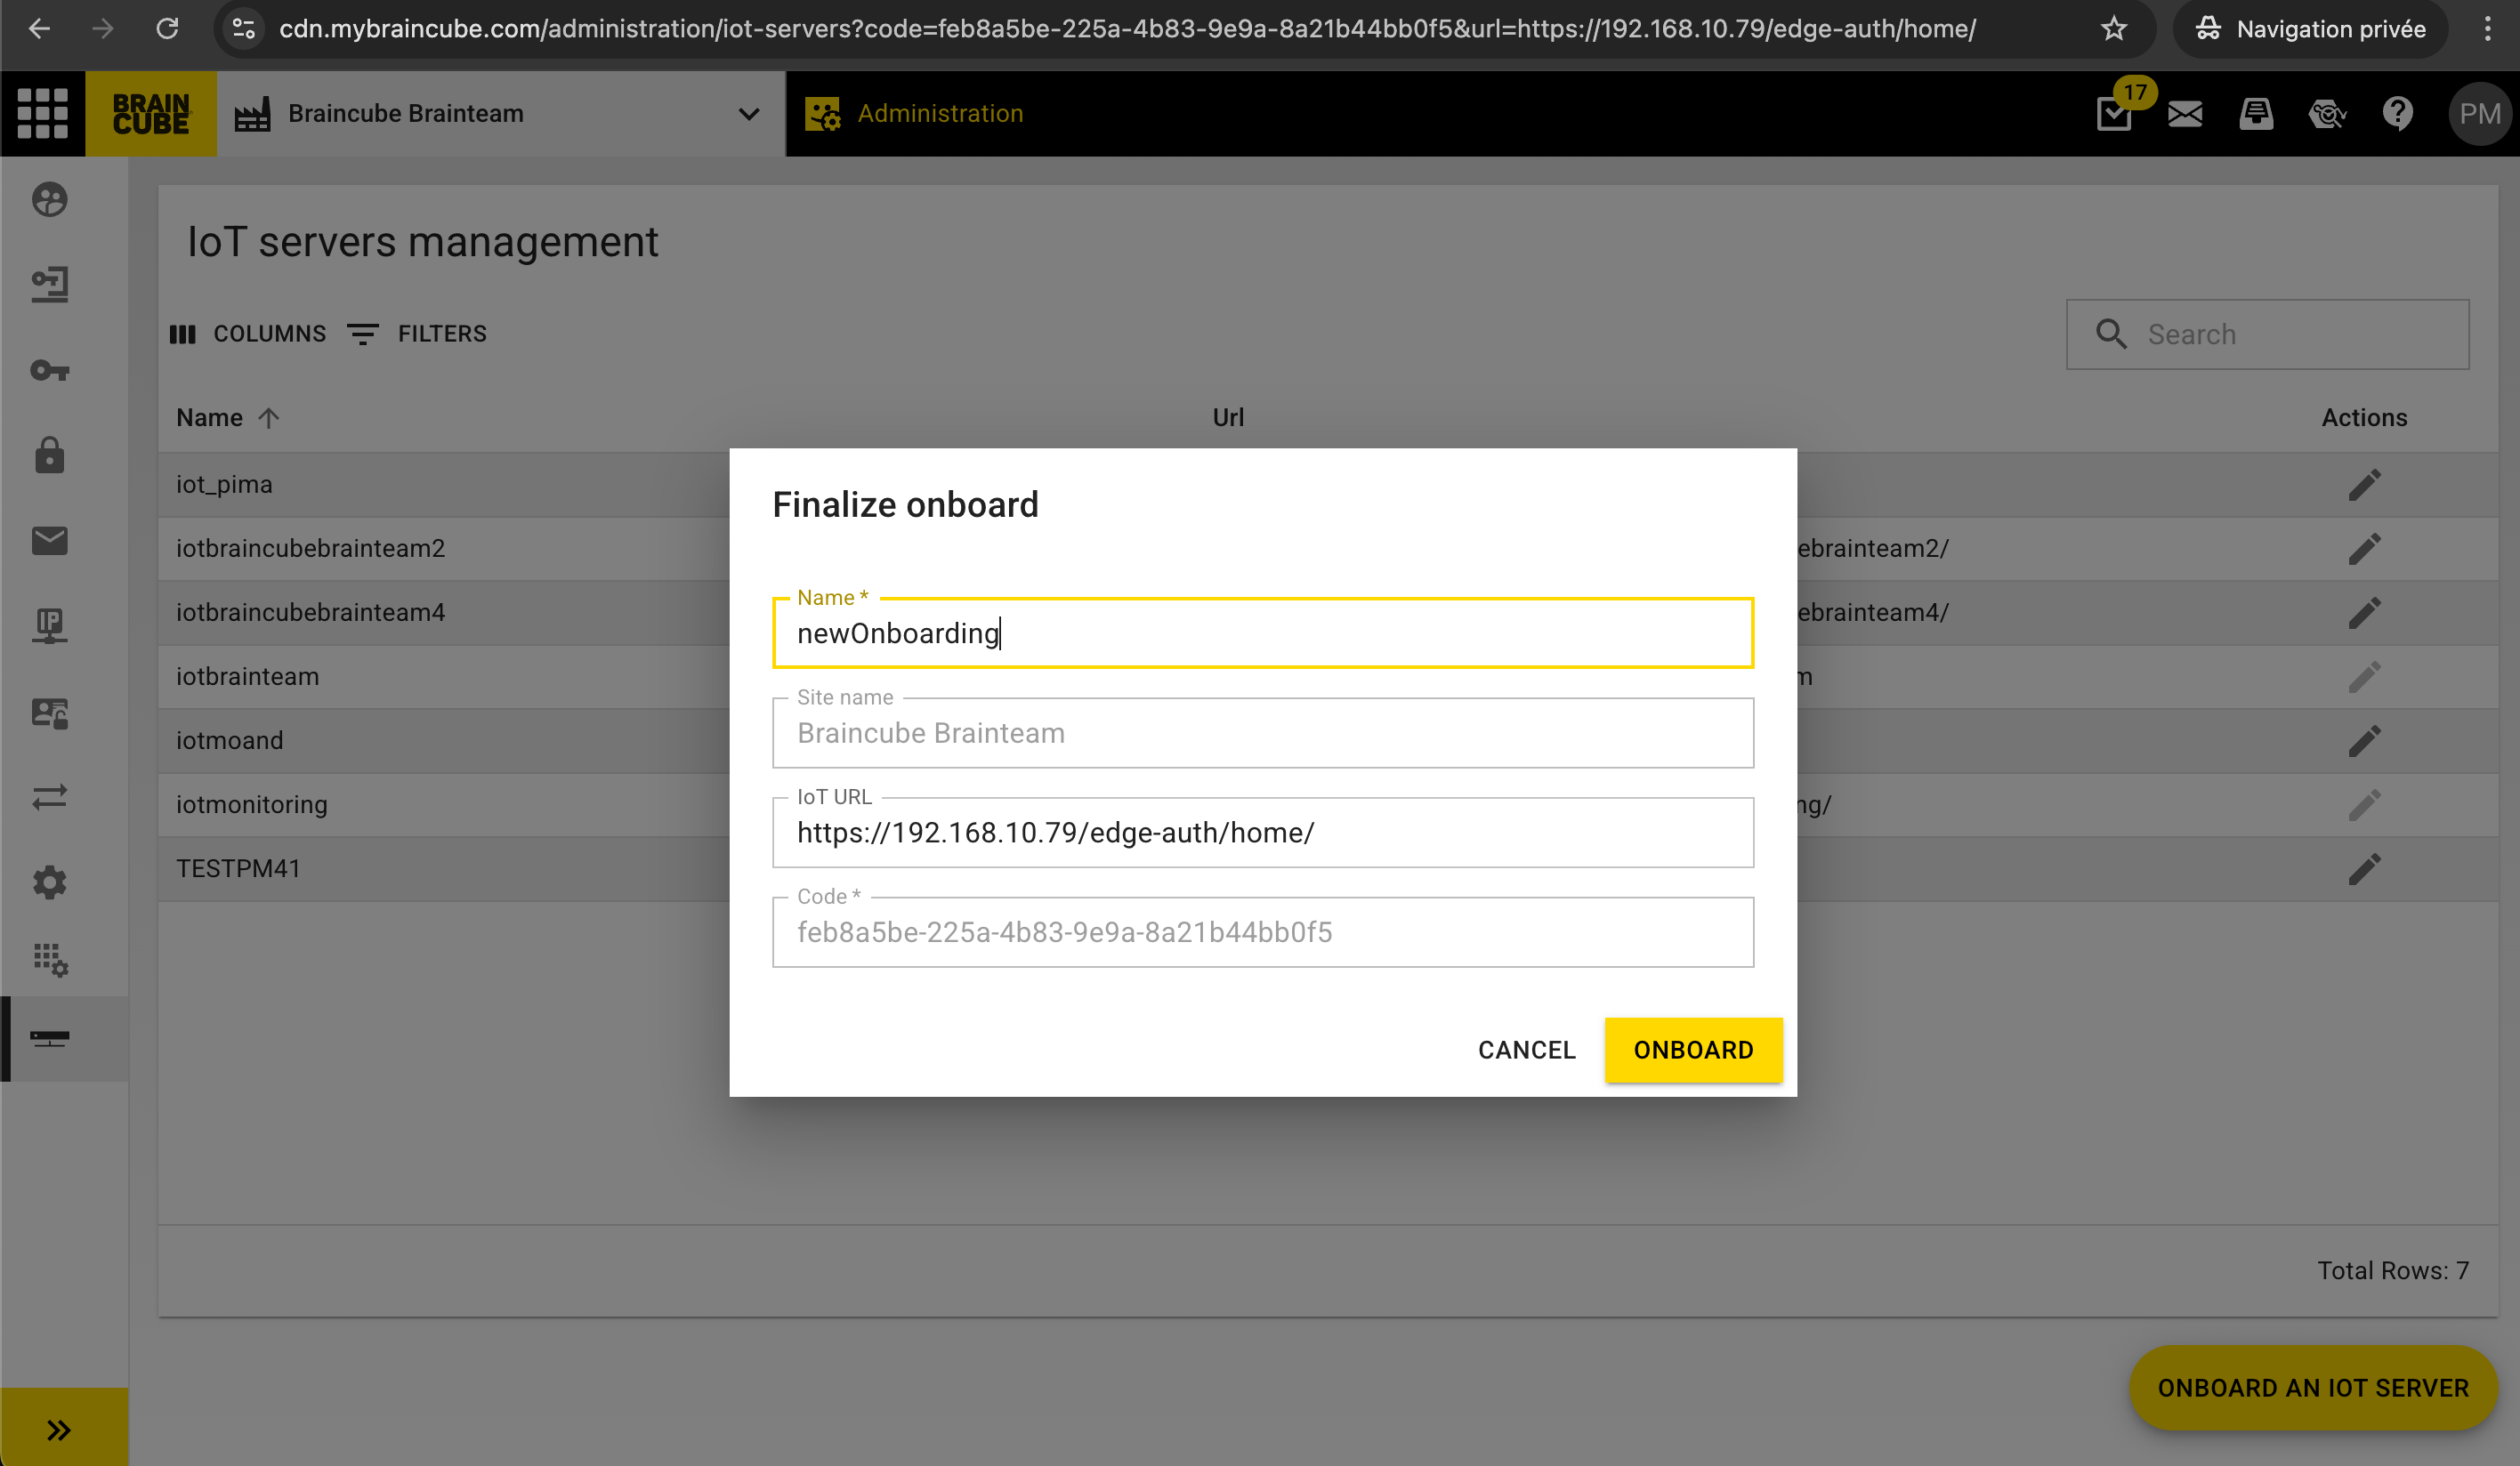
You will then be redirected to the administration page of your braincube to finalize the onboarding. You can specify the name of the IoT server as well as its specific url if it has one :
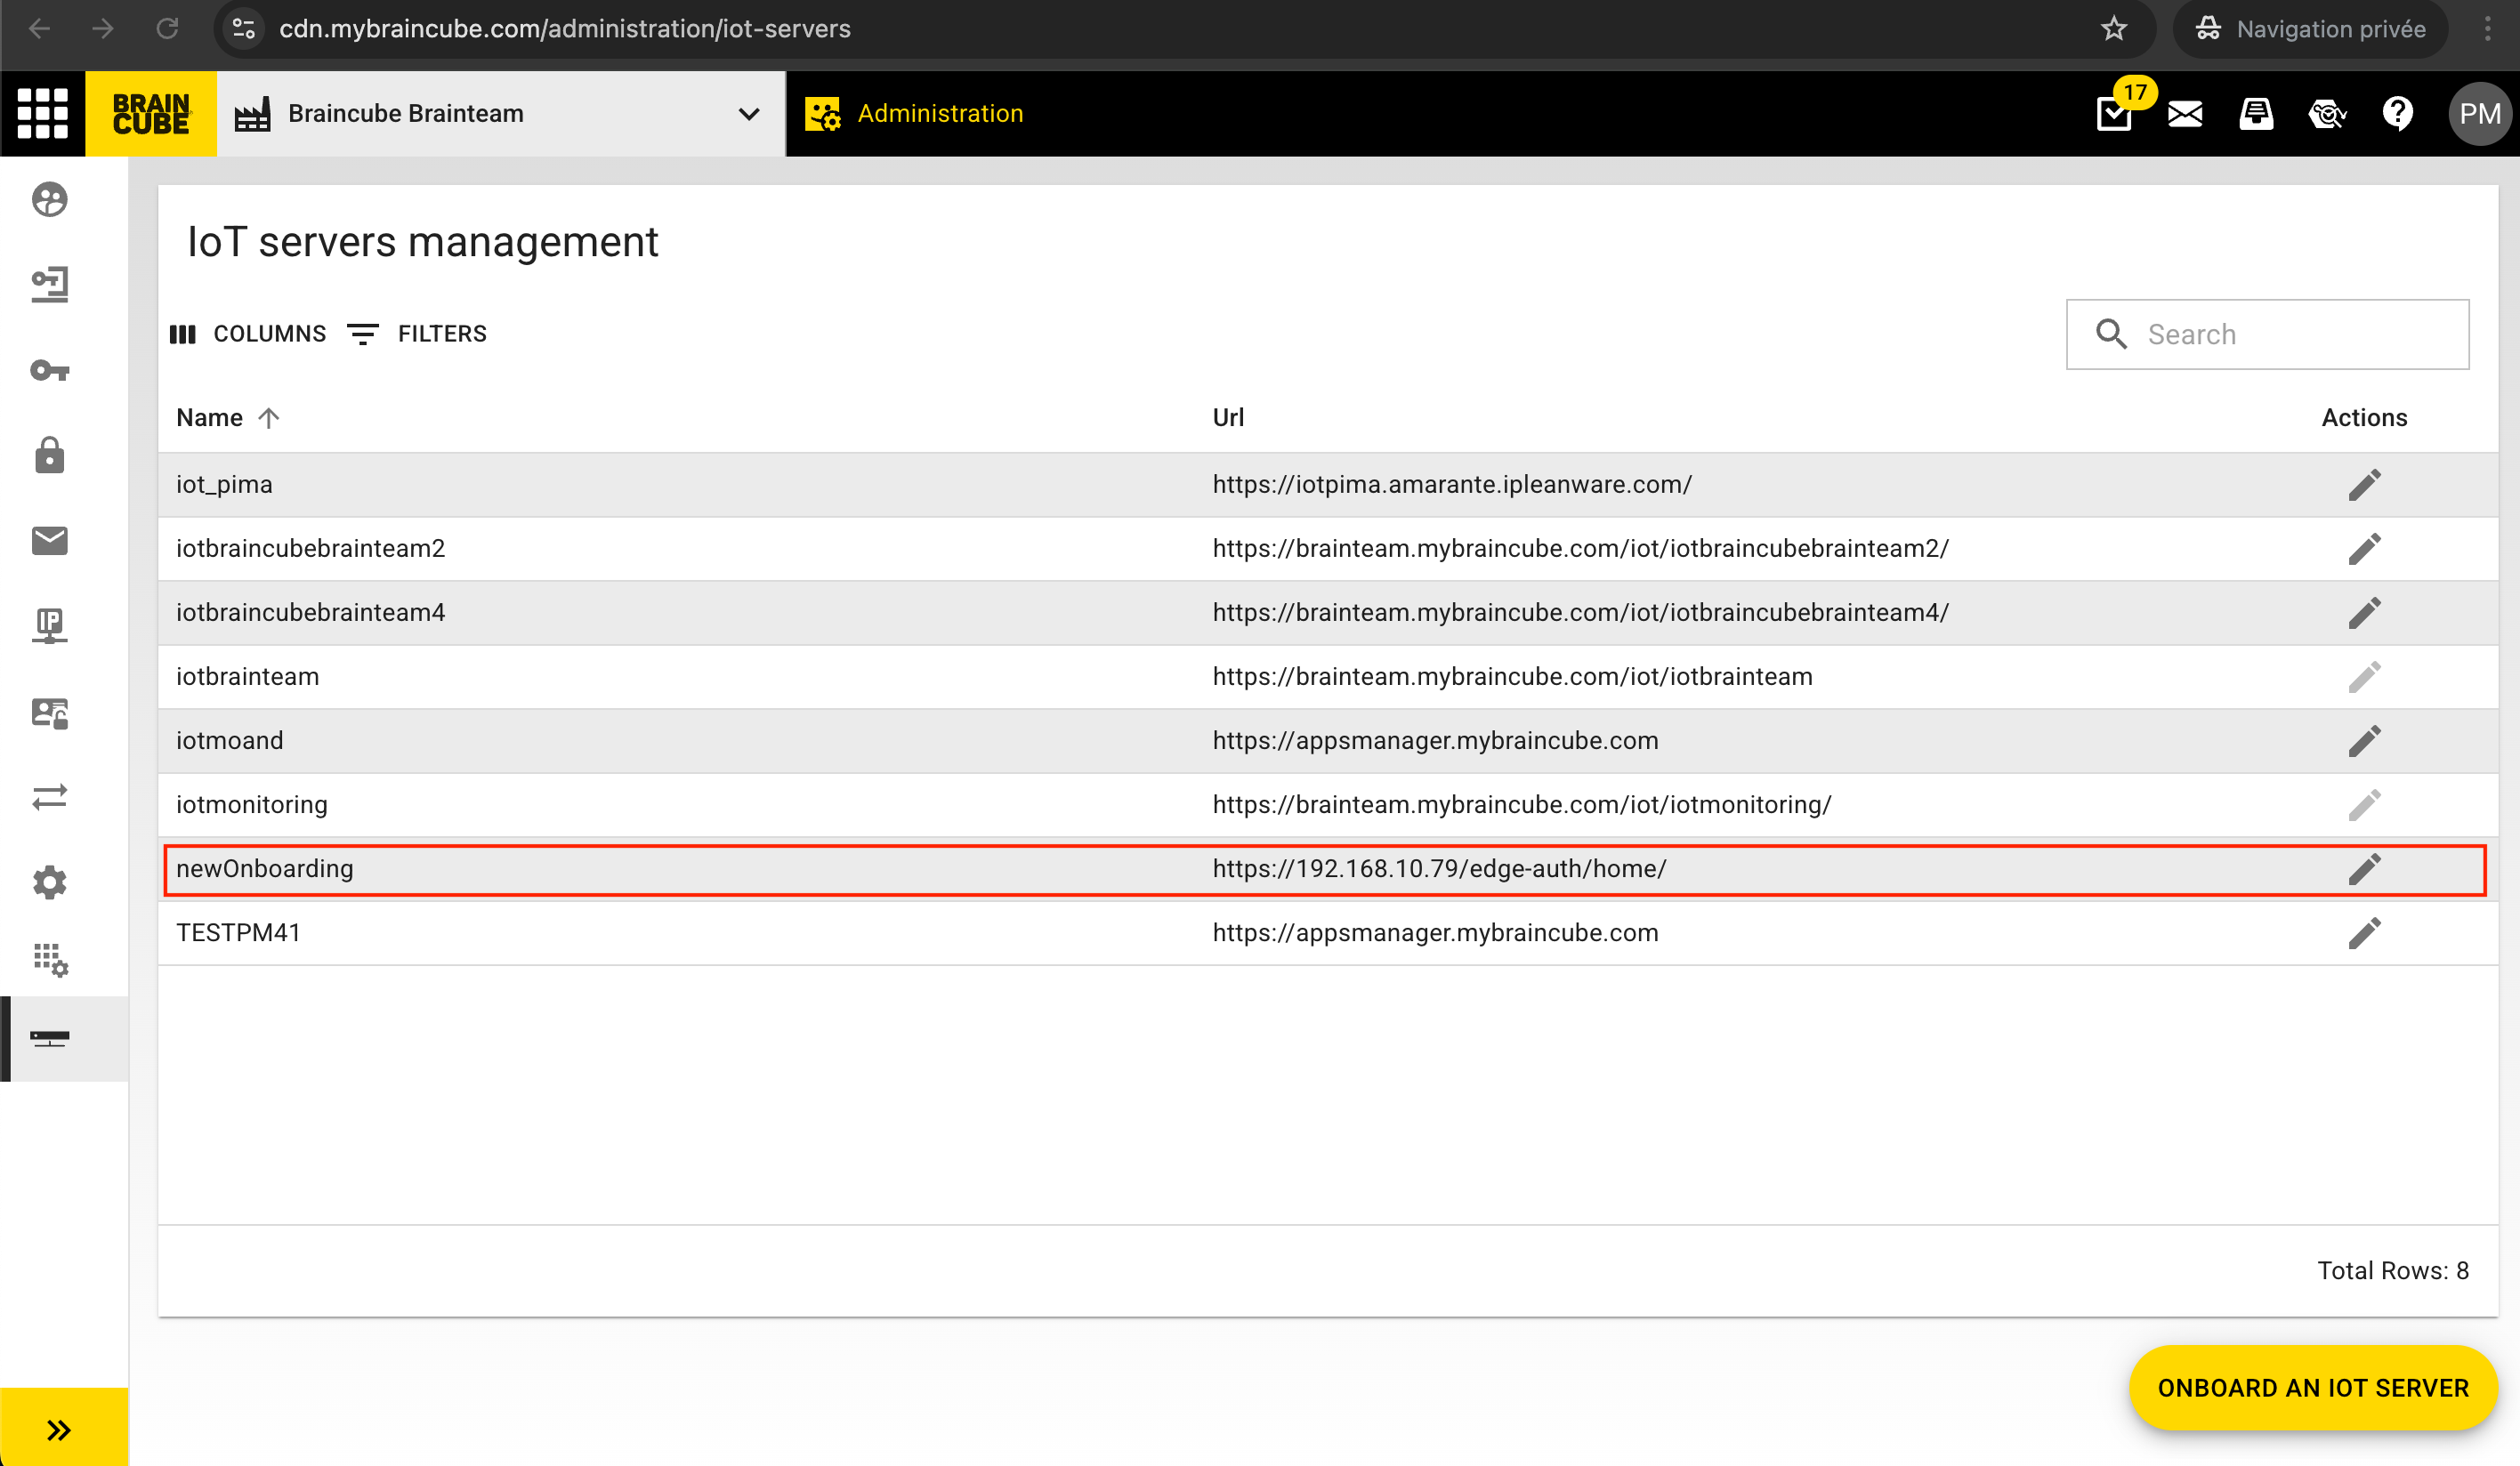
Once you click on "Onboard" the IoT server will appear in the list :
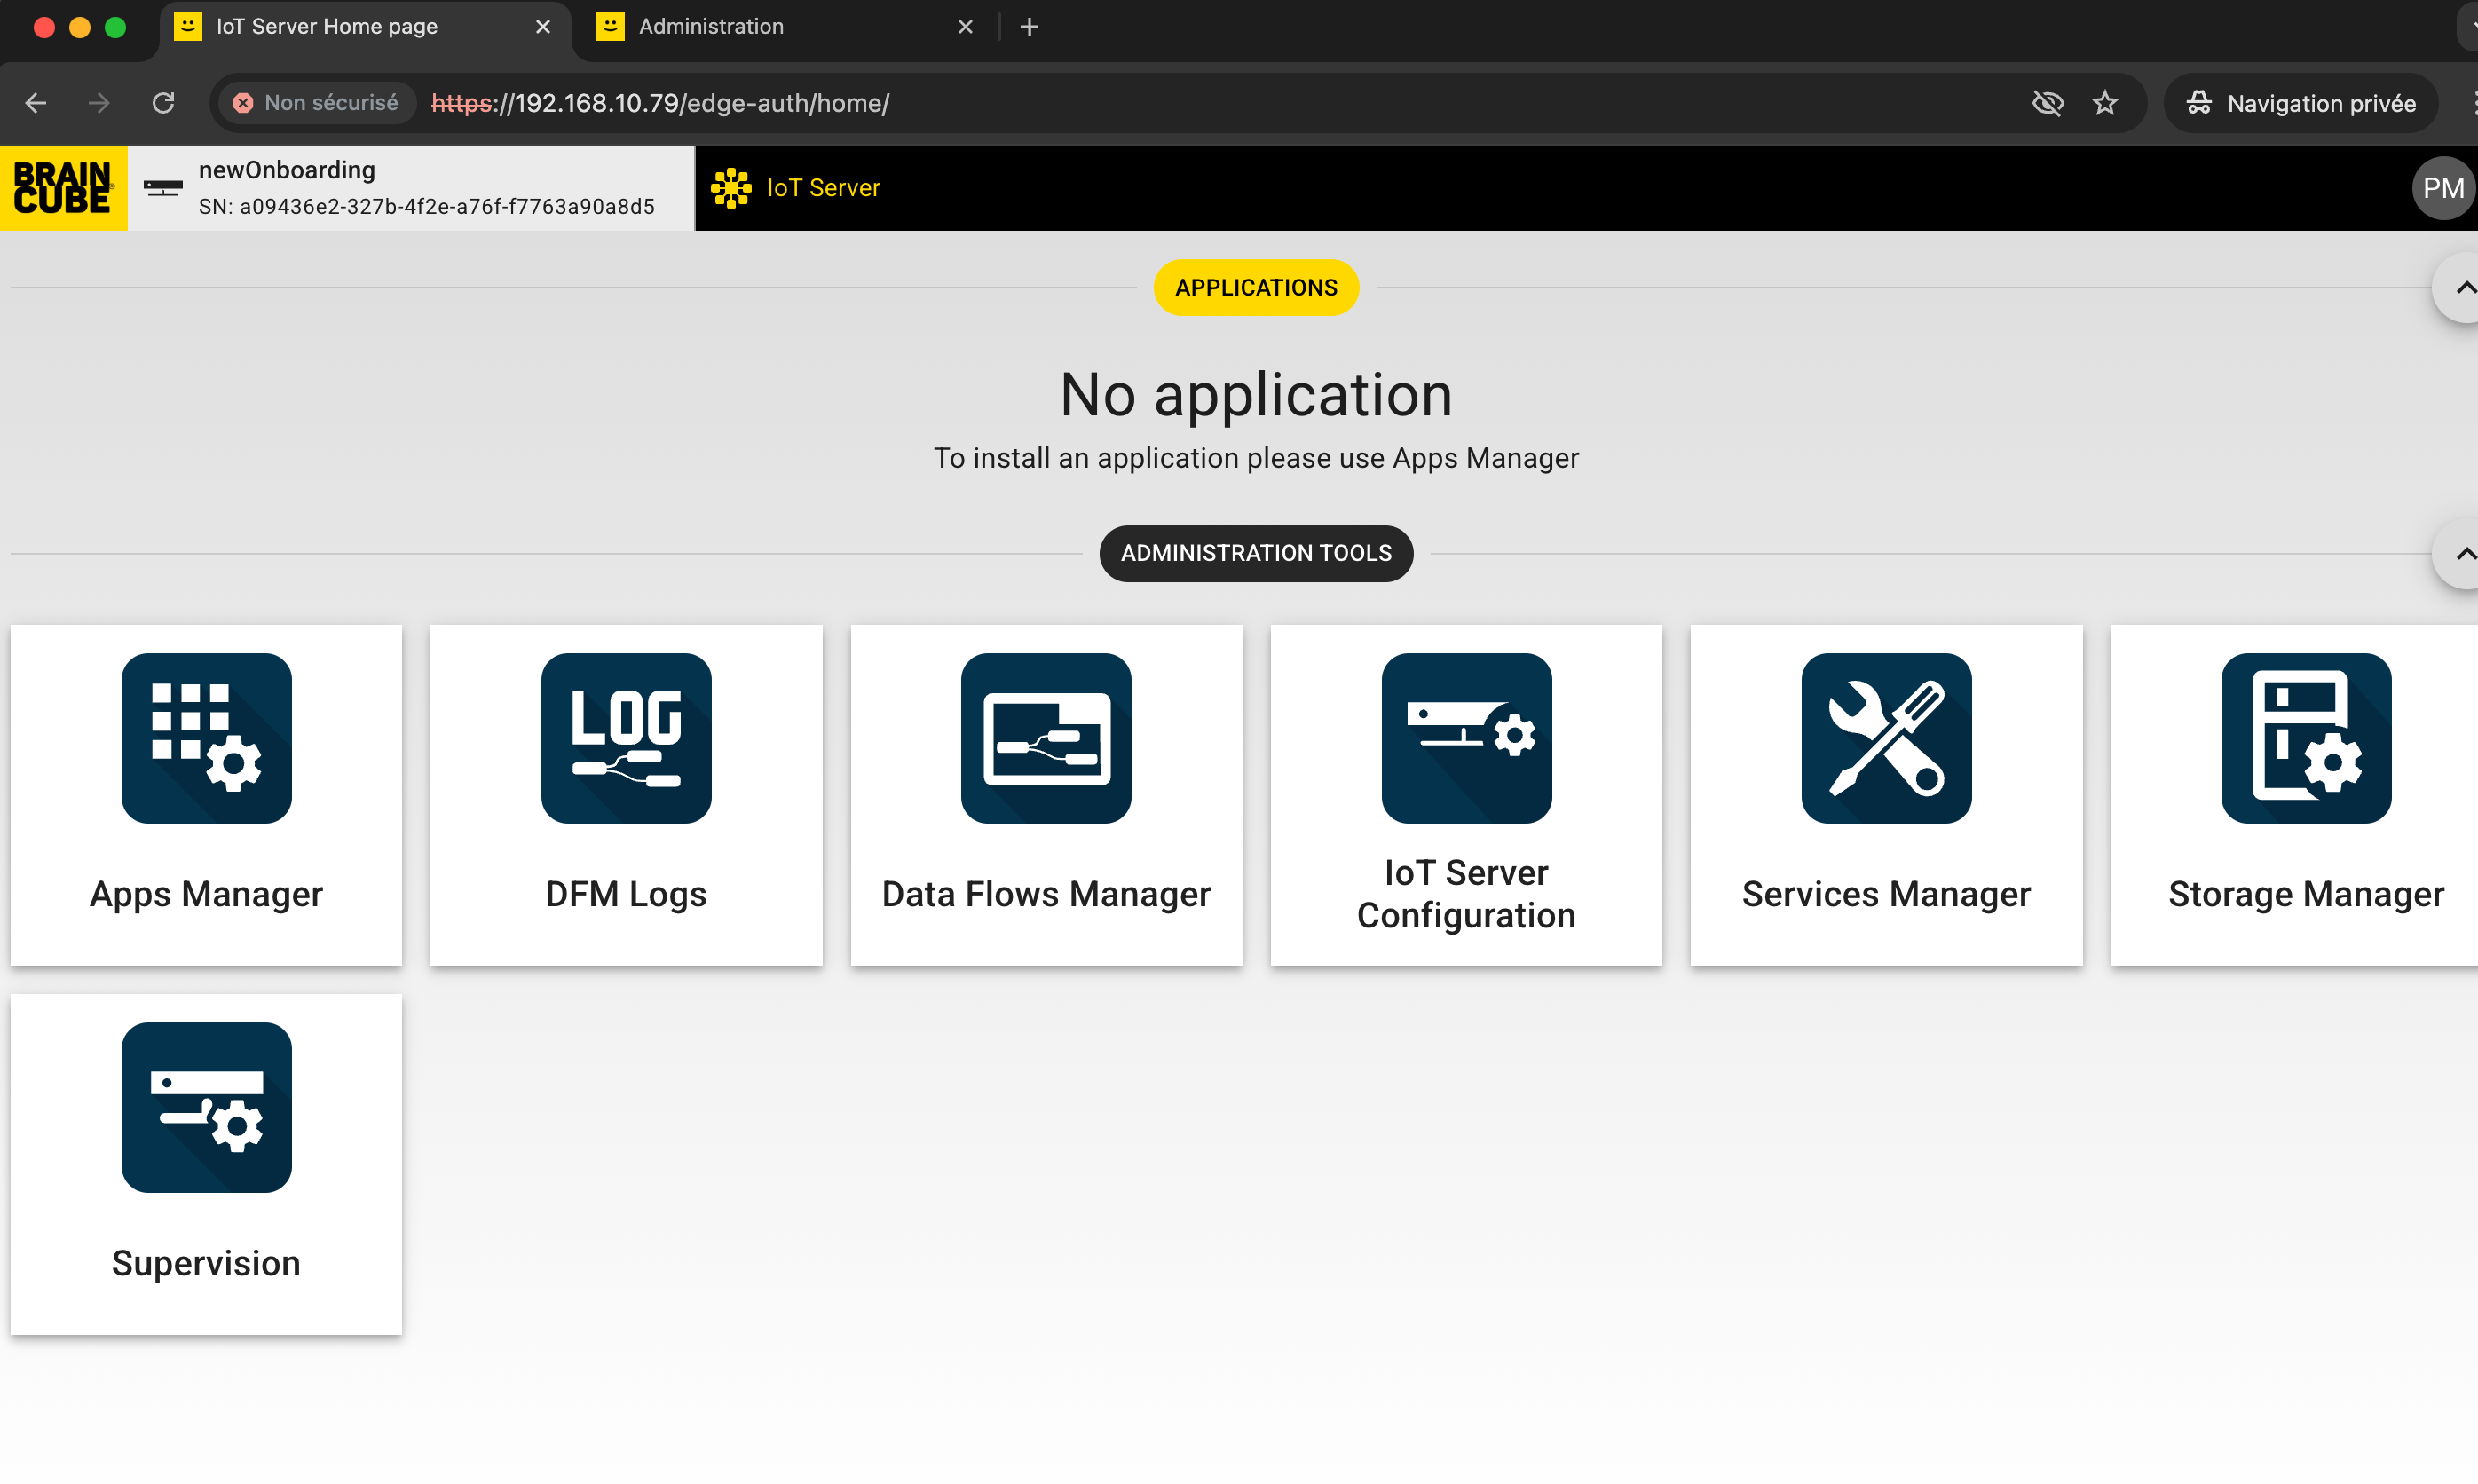
Now go back to your previous tab with your IoT url. You might see an error SN:undefined with no application :

In this case, just refresh your browser and you are all set !
Connect your Iot server to braincube transfer to add more data sources
Prerequisite
Your Iot Server and the Braincube Transfer host must be in the same network, or network route has to exist between them.
If there is a local firewall https communication must be allowed between them (on port 443 or 1880)
step1 : prepare IoT Server for files incomming
Download the dedicated subflow, (see the download tab on the left) unzip and import it in your iot server.
 Configure the node following the included manual.

Save and deploy; your IoT Server is ready to receive data.
step2 : add a dedicated configuration to your Braincube Transfer app
In the settings menu, on the server tag, add a new server :

Change default protocole to httpsUnsecure

use 443 port
Replace mybraincube.com by the ip adress (or url if existing) added with the /edge/ subpath and the path set in you iot server (BT is selected by default)
Ex : 10.80.1.145/edge/BT or myiotserver.mybraincube.com/edge/BT

If the connection test is green, you can apply the configuration, and for now all files treated by Braincube Transfer will be load in your IoT Server flow.
Tips and Tricks
If needed you can only send data from one source directory.
In Braincube Transfer setup, source directories tab :
For each source directory unclick the "target all server" option and choose which server must send the files received in this source directory.
When you send a csv, its essential to unclick "enable compression" in the settings of Braincube Transfer. Warning: this option is applied in every servers you send your files.
IoT server Troubleshooting
My IoT Server does not onboard or start as expected after installation
The first thing to look at when your IoT Server does not work as expected after installation is to ensure that you are up-to-date.You can update your IoT Server using the IoT Server Supervision.
If this is not working, ensure you have the latest .iso by downloading it above and re-installing your IoT Server.
Latests versions of IoT Server
Braincube ensures continuity of service for the latest versions of an IoT Server. Since an IoT Server is supposed to be connected to Braincube continuously and updated automatically, we have chosen to support the version releases over the last 6 months. If your version is older than this, it could indicate some network issues, and this should be the first thing to investigate.
You can find the versions of you IoT and its system on your supervision as below :

For system you should have: linux_4.19
For IoT Server here are the versions supported:
| IoT Server version | Release date | End of support |
|---|---|---|
| 4.3.0 | 2024-02-28 | 2024-08-28 |
| 4.2.1 | 2024-02-07 | 2024-08-07 |
| 4.2.0 | 2024-01-17 | 2024-07-17 |
| 4.1.5 | 2023-12-05 | 2024-06-05 |
| 4.1.4 | 2023-12-05 | 2024-06-05 |
| 4.1.3 | 2023-11-23 | 2024-05-23 |
| 4.1.2 | 2023-11-16 | 2024-05-16 |
| 4.1.1 | 2023-10-18 | 2024-04-18 |
| 4.1.0 | 2023-10-02 | 2024-04-02 |
| <4.0.5 | Anterior 2023-09-04 | 2024-03-04 |
If you encounter difficulties updating your IoT server, please contact our service team via Todo