Failure to follow these technical instructions will prevent the document from being generated.
Caution
- Only admin profiles can do it
- Design: Logos and graphics must be placed on the slide master.
- Content: Maximum of 2 slides. No manual text entry (use tags only). Any slides beyond the first two will be ignored.
Template structure
You can use a template consisting of one or two slides. The system automatically replaces the tag below with the actual data.
Template configuration
- Single-slide structure: If your template contains only one slide, that slide will be used for the entire generated document (including both titles and content).
-
2-slide structure:
- Slide 1 (Titles): Used for title pages.
It must contain only tags from this list: BRAINBOX_NAME, LOGO_BRAINCUBE, BRAINBOX_CREATOR_DATE.
- Slide 2 (Content): Used for data pages.
It accepts the following tags:
Content : PICTURE, PICTURE_TITLE, PICTURE_COMMENT.
Info : BRAINBOX_NAME, BRAINBOX_FOLDER, BRAINBOX_CREATOR_DATE, SLIDE_NUMBER, LOGO_BRAINCUBE.
Note: Regarding the SLIDE_NUMBER tag, numbering starts at 1 on the first page of the export (table of contents page), unlike the export template containing two slides, where numbering on the first page starts at 0.
Export Generation
The export behavior varies depending on the source:
- Exporting a Brainbox
The export will include a title page and X pages of content generated based on the Brainbox's content.
- Exporting a Dashboard
The export will include a general title page, followed by section title pages for each tab, followed by their respective content.
- General title page
- Tab/section title pages: 1 page per Dashboard tab
- Content pages
Note: When exporting a Dashboard, the document will always start with two title pages in a row: the general title page, followed immediately by the title page for Tab 1.
Posted online
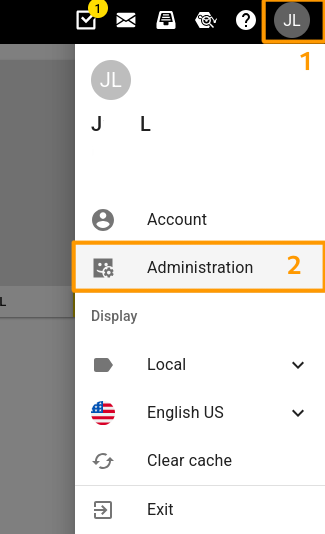
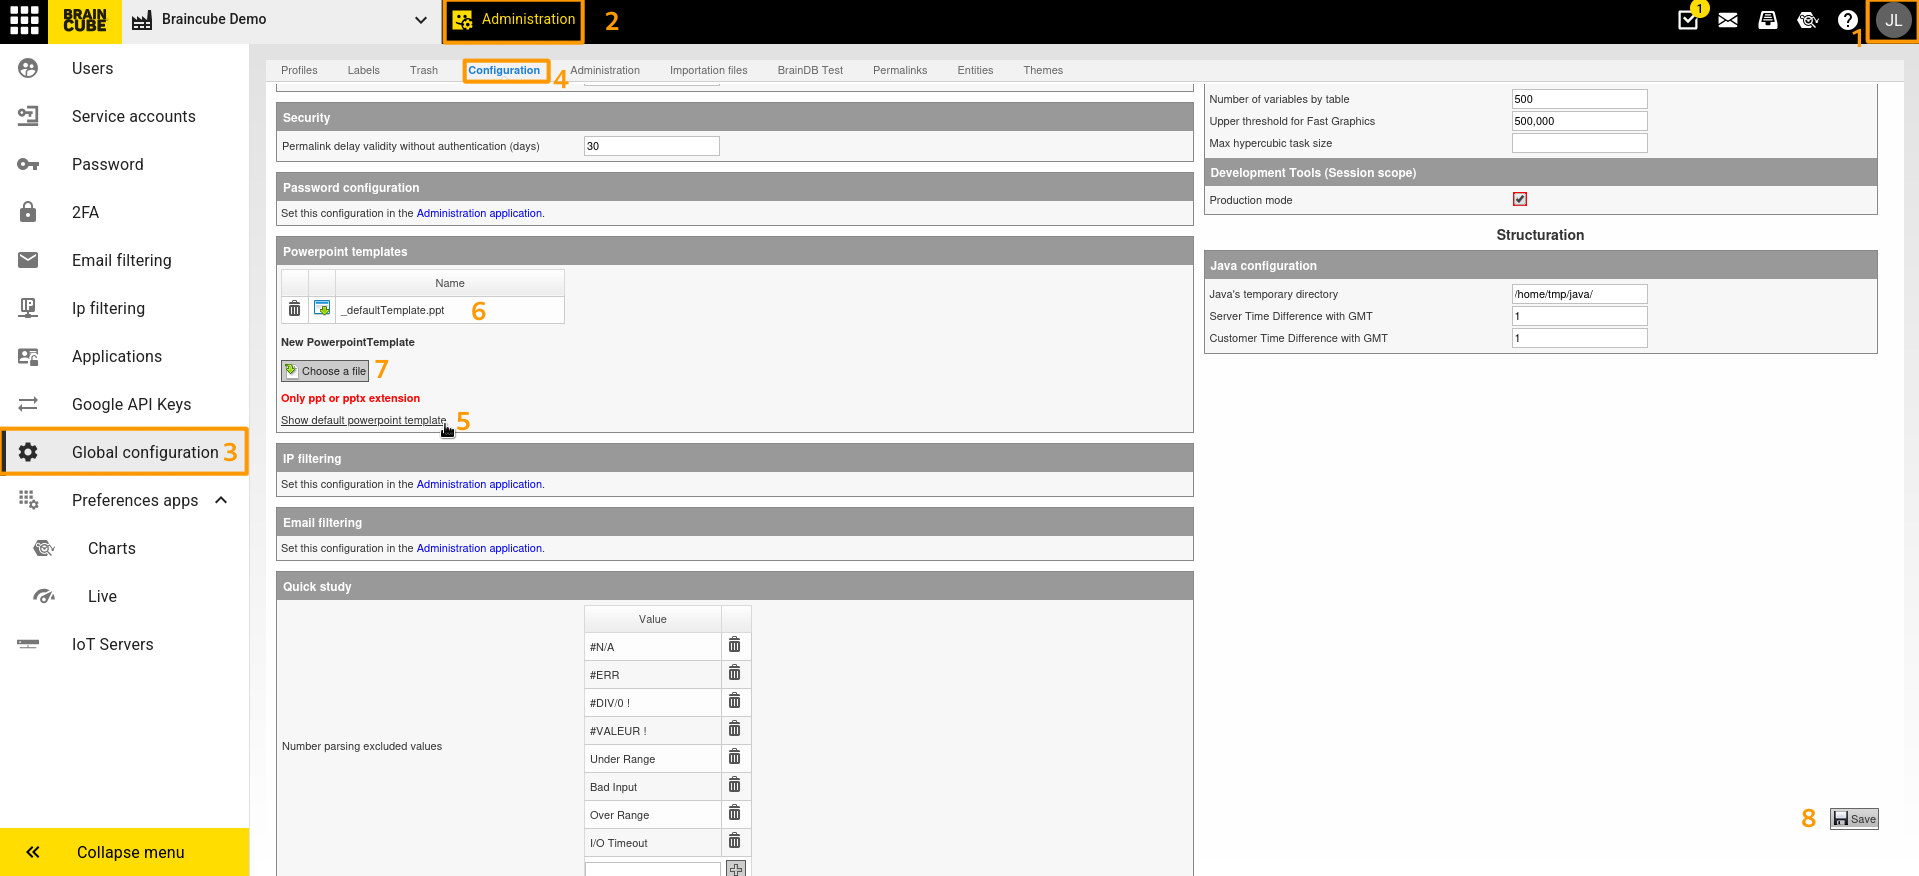
- Go to [Your initials] (1) > Administration (2) > Global configuration (3) > PowerPoint template.
- Download the default template to copy the tags, if necessary (5).
- Delete the old template if necessary (6).
- Upload your .ppt or .pptx file via “Choose a file”. (7)
- Click “Save” (bottom right) to confirm. (8)
As an admin, if you encounter any difficulties, make a todo request.